How to Prepare for Your First Winter Trip: Everything You Need to Know
Your first winter trip can be exciting, but it can also feel surprisingly complicated.
Cold weather changes almost everything about travel. The clothes you pack are different. Walking takes more planning. Snow and ice can affect roads and flights. Your phone battery may drain faster in freezing temperatures. Even something as simple as choosing the right shoes can make the difference between enjoying a day outside and spending the afternoon looking for somewhere warm.
The good news is that you do not need specialized winter-travel experience to prepare properly.
You simply need to think about the cold before you leave, understand the conditions at your destination, pack for changing weather and have a backup plan for transportation and outdoor activities.
This guide covers everything a first-time winter traveler should know before leaving home.
Recommended Travel Items for Your Trip
What Makes Winter Travel Different?
Winter travel is not necessarily harder than summer travel. It simply requires different preparation.
Depending on your destination, you may have to deal with:
- Freezing temperatures
- Snow and ice
- Strong winds
- Rain or freezing rain
- Shorter daylight hours
- Icy sidewalks
- Winter driving conditions
- Flight delays
- Wet clothing and footwear
- Higher heating needs
- Cold-weather fatigue
The biggest mistake first-time winter travelers make is preparing for the temperature alone.
For example, 30°F may be manageable on a calm, dry day but feel considerably colder with strong wind and wet conditions.
You therefore need to prepare for the overall weather, not just one number on a forecast.
Step 1: Research the Actual Winter Conditions
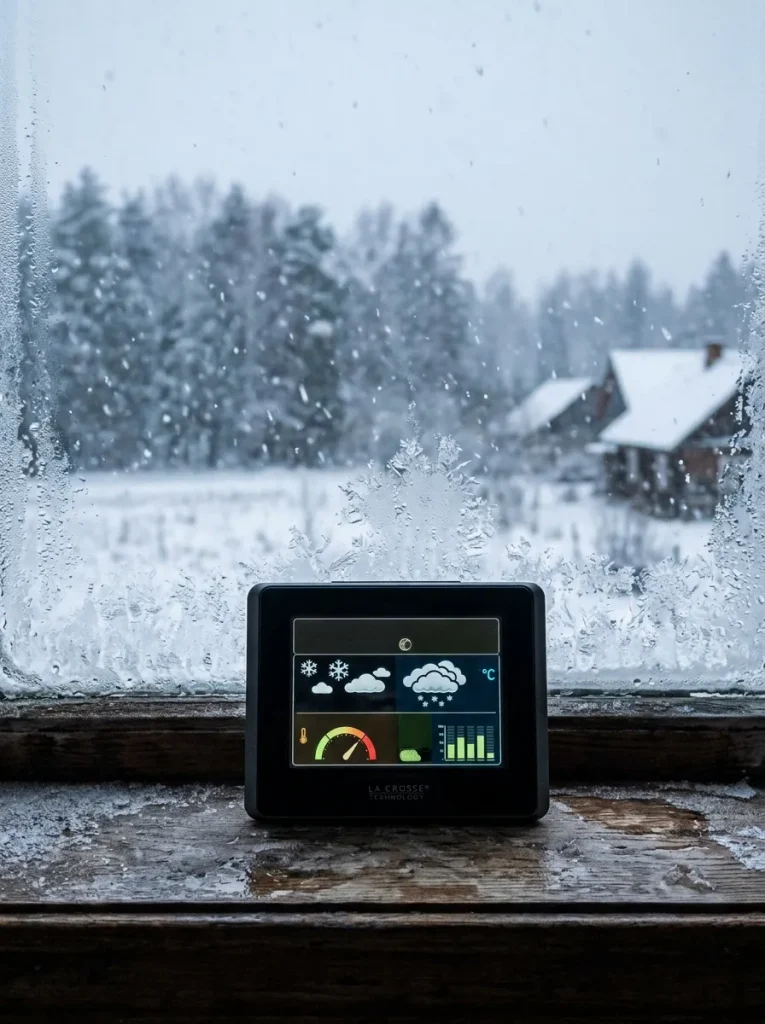
Before booking your trip, find out what winter is really like at your destination.
Do not rely only on photographs from travel websites. A destination covered in beautiful snow can look magical, but you need to know what daily life there is like.
Research:
- Typical temperatures
- Snowfall
- Rain
- Wind
- Daylight hours
- Road conditions
- Public transportation
- Seasonal closures
- Winter storms
- Local weather warnings
Also check conditions for the specific month you plan to visit.
December, January, February and March can have very different conditions depending on the destination.
A city that is comfortable in early December may be significantly colder in January.
Step 2: Understand the Difference Between Temperature and Wind Chill
Temperature is not the entire story.
Wind can make cold weather feel much harsher because moving air increases heat loss from your body.
This is commonly reflected in a wind-chill value.
For example, the forecast might show a temperature around freezing, but strong wind could make it feel substantially colder.
This is one reason a good winter outfit should not simply be based on the thermometer.
If your destination is windy, prioritize:
- A wind-resistant outer layer
- Warm gloves
- A hat
- A scarf or neck covering
- Warm socks
- Proper footwear
Protecting exposed skin becomes particularly important when temperatures are very low.
Step 3: Learn How to Dress in Layers
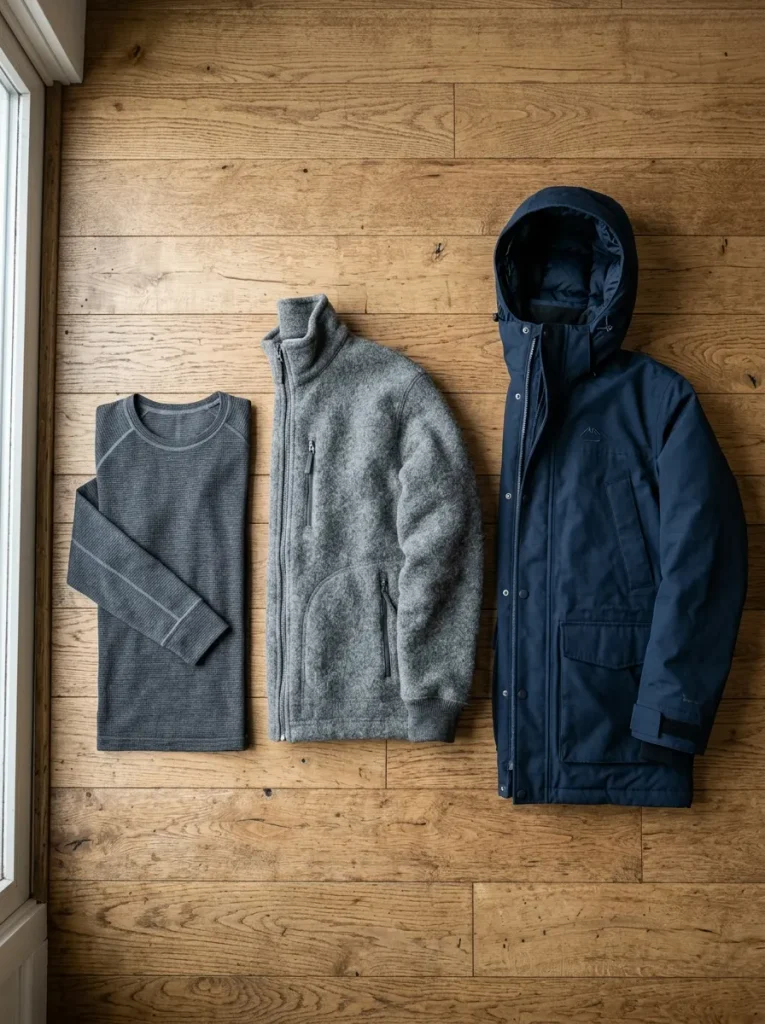
One of the most useful winter travel skills is learning how to layer clothing.
Instead of relying on one enormous sweater, use several layers that you can add or remove.
A basic system looks like this:
Base Layer
The layer closest to your skin.
Its job is to help manage moisture and keep you comfortable.
Middle Layer
This provides insulation.
Depending on conditions, this might be a fleece, sweater or insulated layer.
Outer Layer
This protects you from wind, rain and snow.
A winter coat or shell can serve this purpose depending on the destination.
The advantage of layering becomes obvious when you move between environments.
You may be outside in freezing temperatures in the morning, enter a heated museum for two hours and then return outside in the evening.
With layers, you can adjust.
Without them, you may spend half the day either freezing or overheating.
Step 4: Do Not Underestimate Your Feet
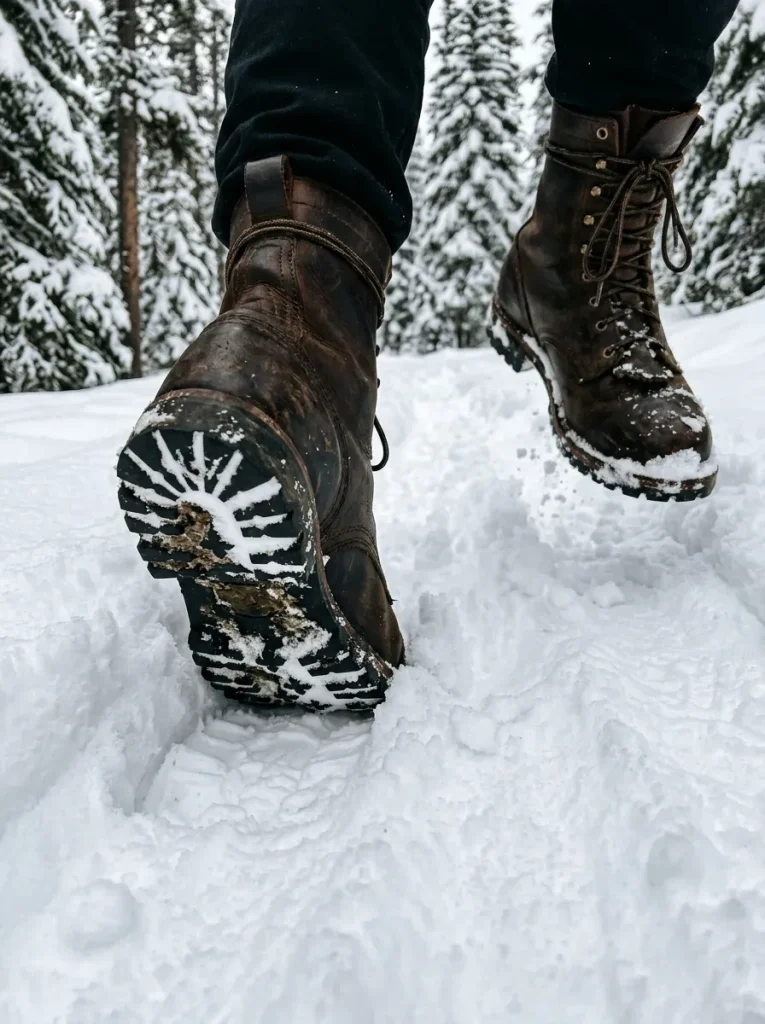
First-time winter travelers often focus heavily on jackets and forget about footwear.
That can be a mistake.
Your feet may encounter:
- Snow
- Slush
- Puddles
- Ice
- Wet sidewalks
- Cold pavement
Choose footwear based on the conditions rather than appearance alone.
For a snowy destination, consider shoes or boots that provide:
- Warmth
- Good traction
- Water resistance
- Comfortable support
- Enough room for warm socks
You may walk much more than expected during a city vacation, so comfort matters just as much as warmth.
Step 5: Pack More Than One Pair of Socks
This sounds simple, but it is one of those small details that can make a big difference.
If your feet get wet during the day, having dry socks available is extremely useful.
Consider packing several pairs rather than bringing only the exact number of days you will be away.
You can also keep an extra pair in your day bag during long outdoor excursions.
The same principle applies to gloves and other items that can become wet.
Step 6: Choose the Right Winter Coat
Your coat will probably be one of the most important pieces of clothing you bring.
But there is no universal “best winter coat.”
The right choice depends on the destination.
For example, a mild winter city may require something very different from a destination with heavy snow and subzero temperatures.
When choosing a winter coat, consider:
- Temperature range
- Wind
- Snow
- Rain
- Weight
- Packability
- Insulation
- Waterproofing
- Length
- Mobility
A very warm coat is not always the most practical travel coat if it is enormous and difficult to pack.
Step 7: Protect Your Hands, Head and Neck
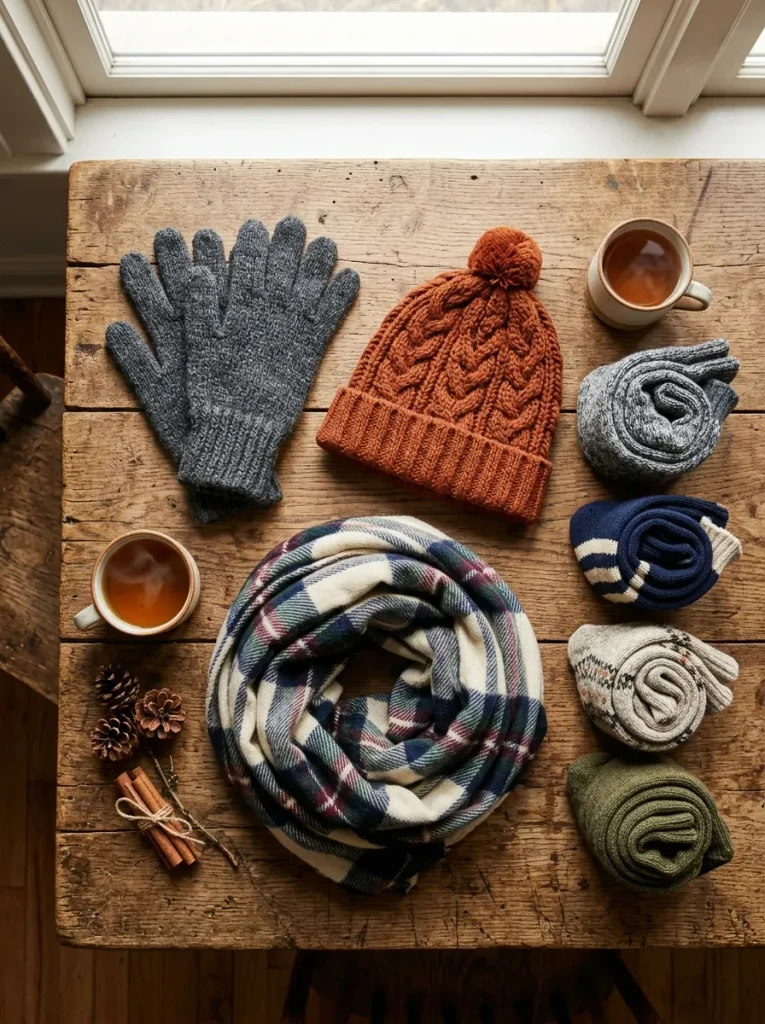
Your extremities can become uncomfortable quickly in cold weather.
A winter packing list should therefore include more than just a coat.
Consider bringing:
- Gloves
- Hat or beanie
- Scarf
- Warm socks
- Weather-resistant footwear
Gloves are particularly important if you plan to use your phone outdoors.
Touchscreen-compatible gloves can make it easier to navigate maps, take photos or communicate without constantly exposing your hands to the cold.
Step 8: Prepare for Snow and Ice
If snow or ice is possible, think about traction.
Walking on a dry sidewalk is completely different from walking on packed snow or an icy surface.
Slow down.
Take shorter steps.
Pay attention to the surface in front of you.
Avoid assuming that a clear-looking patch is safe. Ice can be difficult to see, particularly around shaded areas.
If your trip involves hiking or extensive walking in snowy conditions, research whether specialized traction equipment is appropriate for the destination and activity.
Step 9: Check Your Travel Insurance and Emergency Coverage
Winter weather can create travel disruptions.
Flights may be delayed. Roads may close. Outdoor activities may be canceled.
Before leaving, understand what your travel insurance covers.
Pay particular attention to:
- Trip interruption
- Trip cancellation
- Medical expenses
- Emergency transportation
- Lost baggage
- Delayed baggage
- Weather-related disruptions
Do not assume every winter-related problem is automatically covered.
Read the policy conditions and understand the exclusions before your trip.
Step 10: Prepare for Flight Delays
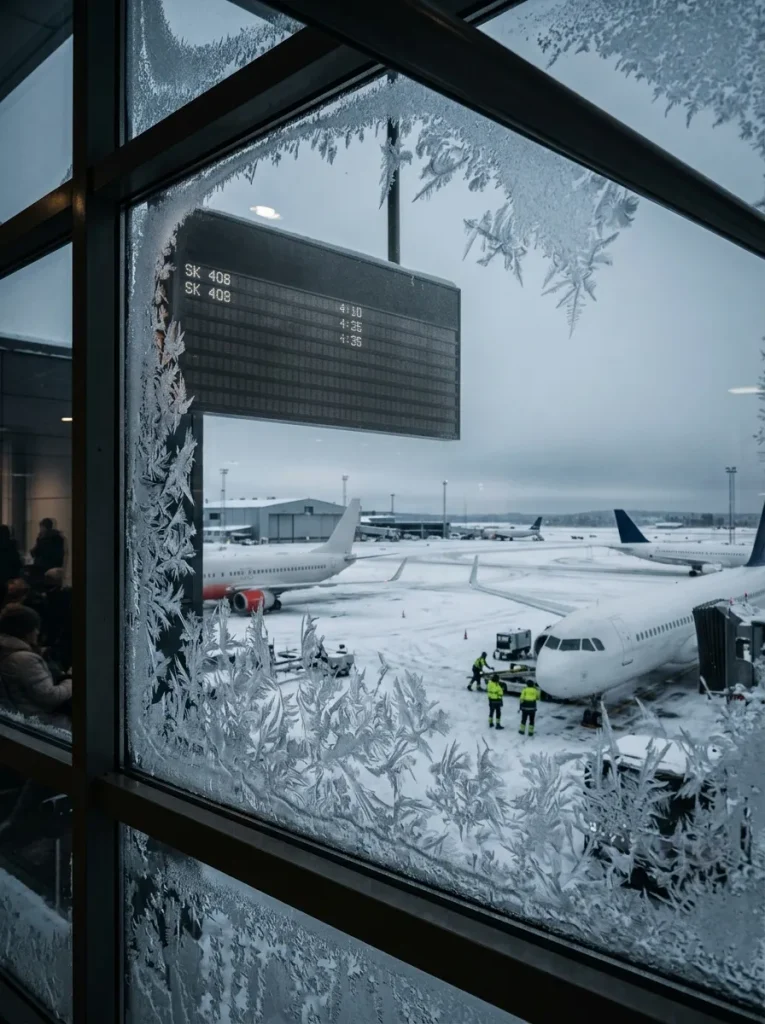
Winter can create additional complications for air travel.
Snow, ice, strong winds and airport disruptions can cause delays or cancellations.
If you are flying during winter, avoid planning your itinerary so tightly that one delayed flight destroys the entire trip.
For example, if you land at 6 p.m. and have a non-refundable event at 8 p.m., even a modest delay could create a problem.
Give yourself some breathing room.
For important activities, consider leaving a buffer after arrival.
Step 11: Keep Important Items in Your Carry-On
If you are checking luggage, do not put every important item in your suitcase.
Your carry-on should contain the essentials you need if your checked bag is delayed.
Consider keeping:
- Identification
- Travel documents
- Medication
- Phone
- Chargers
- Important electronics
- A change of clothes
- Basic toiletries
- Essential winter accessories
If practical, keep one warm layer accessible as well.
Imagine your checked suitcase does not arrive.
What would you need during the first 24 hours?
Pack those items in your carry-on.
Step 12: Protect Electronics From Extreme Cold
Cold temperatures can affect batteries and electronic devices.
If you are traveling somewhere extremely cold, avoid leaving your phone, camera or other electronics exposed to freezing temperatures longer than necessary.
A phone that suddenly loses battery power while you are navigating an unfamiliar city is not a pleasant surprise.
Keep devices protected and close to your body when appropriate.
If you move a very cold device into a warm environment, condensation can also become a concern. Allow equipment to acclimate gradually when conditions are extreme.
Step 13: Remember That Your Phone Battery May Not Last as Long
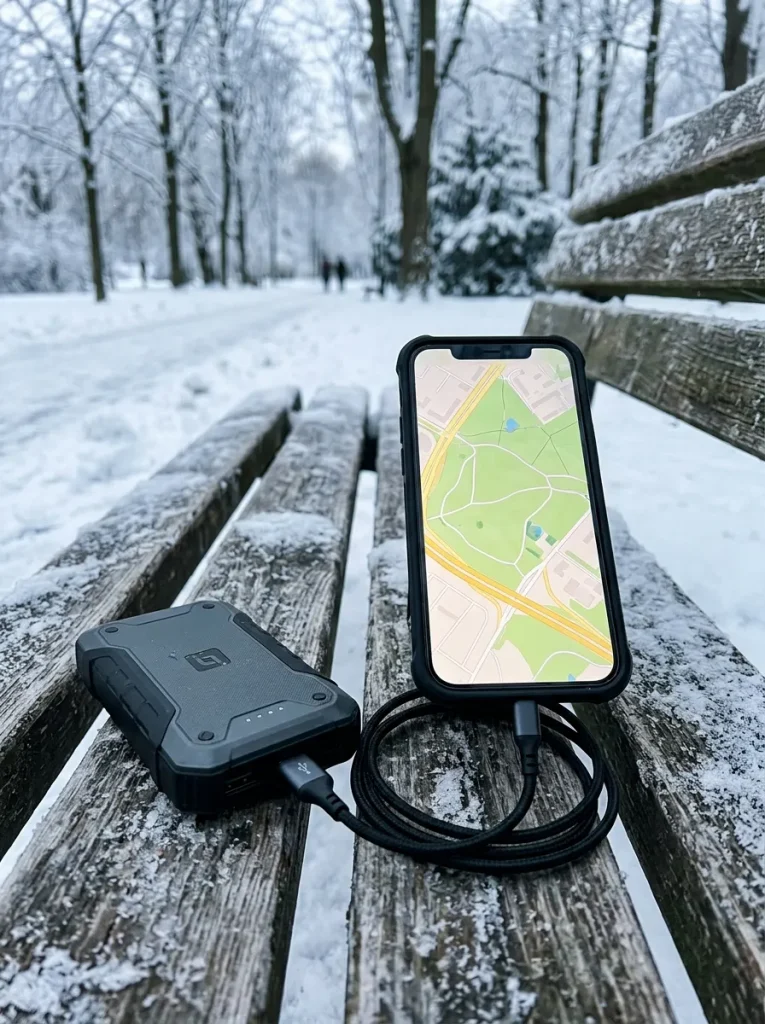
Cold temperatures can temporarily reduce battery performance.
This matters when your phone is doing everything at once:
- GPS navigation
- Camera
- Mobile data
- Weather apps
- Transportation apps
- Digital tickets
A portable power bank can therefore be particularly useful on winter sightseeing days.
Keep it charged before leaving your hotel.
Do not wait until your phone reaches 5% battery.
Step 14: Plan Around Shorter Daylight Hours
Winter days can feel surprisingly short.
This matters because many outdoor activities are more enjoyable in daylight.
Before building your itinerary, check sunrise and sunset times.
You might prefer to schedule:
Morning and afternoon
Outdoor sightseeing and scenic activities.
Late afternoon and evening
Museums, restaurants, shopping, shows and other indoor activities.
This also gives you a natural reason to move indoors as temperatures fall.
Step 15: Do Not Plan Every Day Around Outdoor Activities

This is one of the most important rules for first-time winter travelers.
Have indoor alternatives.
If you are visiting a city, consider:
- Museums
- Galleries
- Historic buildings
- Markets
- Shopping areas
- Restaurants
- Cafés
- Theaters
- Indoor attractions
If you are visiting a mountain destination, research indoor activities near your accommodation as well.
A snowstorm should change your plan, not necessarily destroy it.
Step 16: Build a Winter-Friendly Itinerary
A winter itinerary should have more flexibility than a summer itinerary.
Instead of:
8:00 → 9:00 → 10:00 → 11:00 → 12:00 → 1:00 → 2:00
try:
Morning: Main activity
Lunch: Nearby restaurant
Afternoon: Second activity
Evening: Dinner or entertainment
This leaves room for:
- Weather delays
- Transportation problems
- Longer meals
- Warming breaks
- Unexpected discoveries
You are on vacation, not operating a train timetable.
Step 17: Keep Activities Close Together
Geographic planning becomes especially valuable during winter.
Suppose you want to visit three attractions.
Do not automatically choose:
Attraction A on one side of town → Attraction B across town → Attraction C in another neighborhood.
Instead, look for attractions that naturally fit together.
For example:
Neighborhood A
Museum → restaurant → landmark
Neighborhood B
Market → shopping → theater
This reduces transportation time and limits your exposure to cold weather.
Step 18: Prepare Your Car for Winter Travel
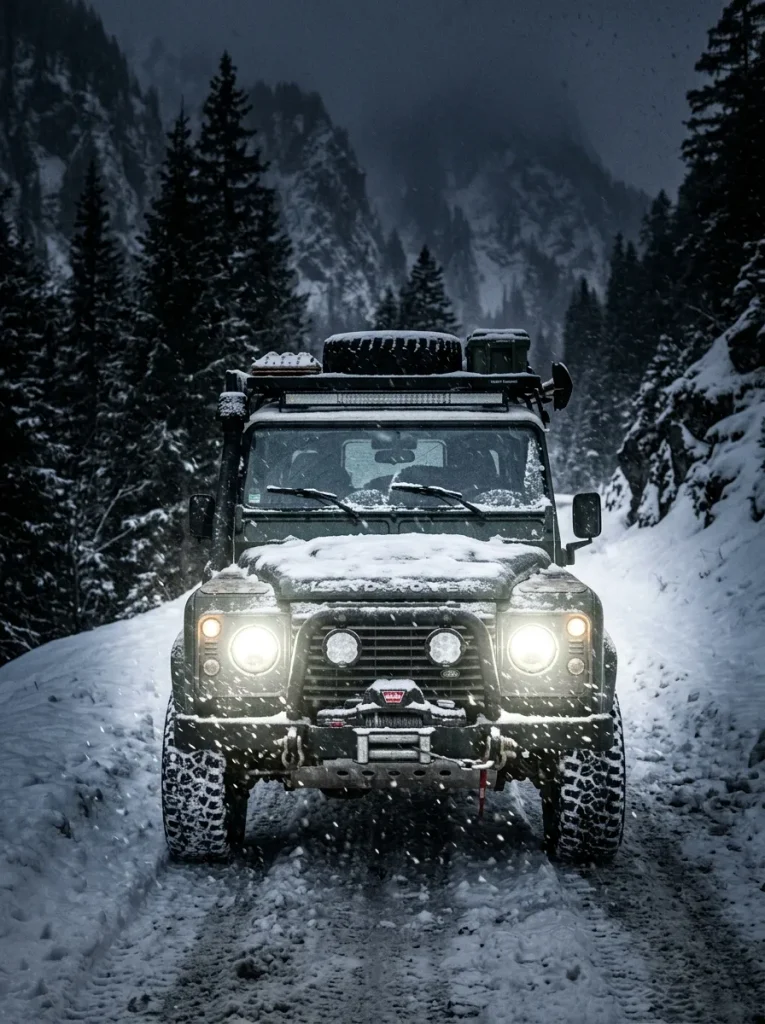
If your winter trip involves driving, preparation becomes much more important.
Before a winter road trip, check:
- Tire condition
- Tire pressure
- Windshield washer fluid
- Battery
- Engine fluids
- Lights
- Wipers
- Heater
- Defroster
You should also know the expected road conditions along your route.
Pack a basic emergency kit that may include:
- Blanket
- Flashlight
- Extra clothing
- Water
- Snacks
- Phone charger
- First-aid supplies
- Ice scraper
- Emergency supplies appropriate for your route
For remote or mountainous areas, additional equipment may be appropriate depending on local conditions.
Step 19: Know What to Do If You Get Stuck
Nobody plans to get stranded.
Winter travel requires you to think about the possibility anyway.
If your vehicle becomes stuck in snow, the priority is safety.
Avoid taking unnecessary risks to reach help.
Contact roadside assistance or emergency services when appropriate, stay with the vehicle when conditions make leaving unsafe and conserve fuel while waiting for assistance.
Before a remote winter drive, tell someone your planned route and expected arrival time.
Step 20: Prepare Your Accommodation for Cold Weather
Before booking a winter hotel, vacation rental or cabin, look at practical details.
Check whether the property has:
- Reliable heating
- Good recent reviews
- Warm bedding
- Hot water
- Convenient access
- Nearby restaurants or stores
- Easy transportation
- Flexible cancellation terms
If you are staying somewhere particularly cold, read recent guest reviews for comments about heating.
A beautiful cabin is considerably less appealing if guests repeatedly mention that the heating system struggles.
Step 21: Think About Wet Clothing
Winter travel often means wet clothing.
Snow melts.
Rain happens.
Boots get wet.
Gloves can become damp.
Do not assume everything will magically dry overnight.
If you are staying in a hotel or rental, look for practical places to hang clothing.
A small travel laundry bag or organizer can also help separate damp clothing from clean items.
For longer trips, consider doing laundry rather than carrying an enormous amount of clothing.
Step 22: Protect Your Skin From Cold and Dry Air
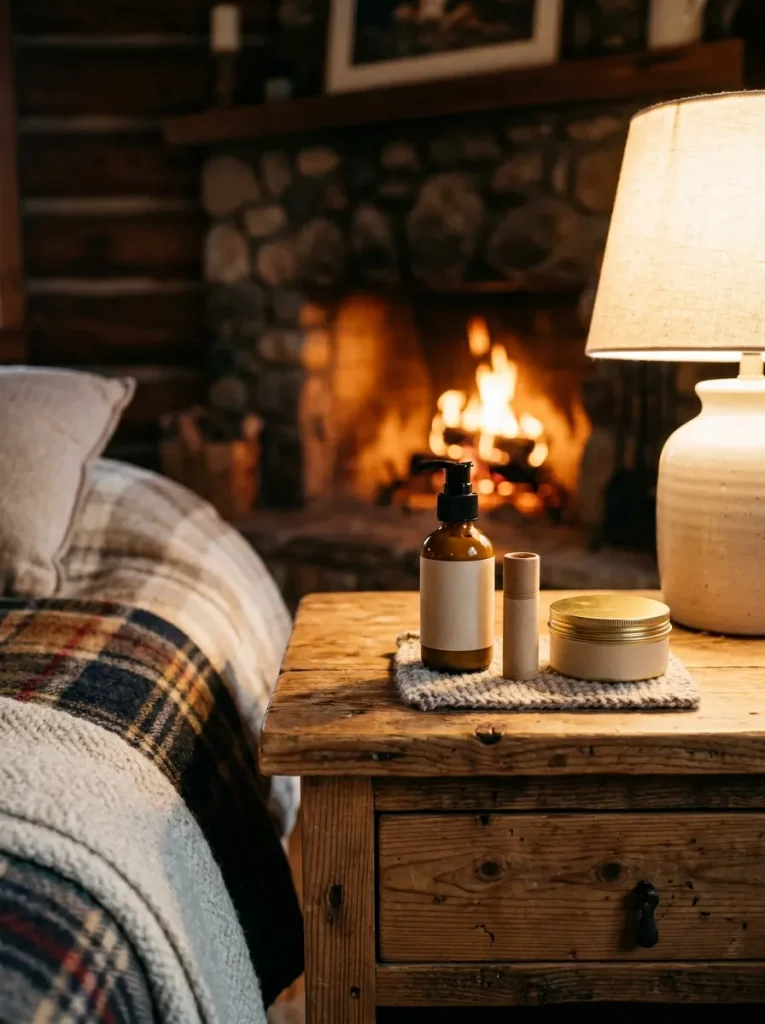
Cold outdoor air combined with heated indoor air can be tough on your skin.
Depending on your personal needs, you may want to pack:
- Moisturizer
- Lip balm
- Sunscreen
- Hand cream
Sunscreen is not just a summer item. Snow can reflect sunlight, and winter sun exposure can still affect exposed skin.
If you are traveling to a high-altitude destination, pay particular attention to sun protection.
Step 23: Stay Hydrated
Cold weather can make you forget to drink enough water.
You may also lose moisture through dry indoor heating.
Carry a reusable water bottle when practical and drink regularly throughout the day.
If you are doing winter sports or hiking, hydration becomes even more important.
Do not rely solely on thirst as your reminder.
Step 24: Be Careful With Alcohol in Cold Weather
It can feel tempting to warm up with an alcoholic drink after spending time outside, but alcohol can create a misleading sensation of warmth while affecting judgment and coordination.
If you are dealing with genuinely dangerous cold conditions, prioritize proper clothing, shelter and safe heating rather than relying on alcohol to feel warmer.
For winter travel, staying warm should come from preparation, not a false sense of heat.
Step 25: Download Important Information Before Leaving
Do not assume you will always have reliable internet.
Before leaving, save or download:
- Hotel address
- Reservation details
- Flight information
- Transportation information
- Maps
- Important phone numbers
- Travel insurance information
- Emergency contacts
Screenshots can be useful when you need quick access to a reservation or address.
A portable power bank also becomes more valuable when your phone is your primary navigation tool.
Step 26: Have a Winter Emergency Plan
You do not need to expect disaster.
You simply need to know what you would do if something went wrong.
Write down:
Where am I staying?
Who do I contact in an emergency?
Where is the nearest hospital or urgent-care facility?
How do I contact my airline?
What happens if my transportation is canceled?
Where can I go if the weather becomes dangerous?
Keep these details accessible offline.
A five-minute preparation exercise can save a lot of stress later.
Winter Travel Packing Checklist
Here is a simple starting point for your first winter trip.
Clothing
- Winter coat
- Base layers
- Sweaters or fleece
- Warm pants
- Warm socks
- Gloves
- Hat
- Scarf
- Comfortable sleepwear
Shoes
- Comfortable walking shoes
- Winter boots if needed
- Water-resistant footwear
- Extra socks
Travel Gear
- Phone charger
- Power bank
- Day bag
- Water bottle
- Travel documents
- Small umbrella if appropriate
- Packing organizers
Personal Items
- Medications
- Lip balm
- Moisturizer
- Sunscreen
- Toiletries
- Hand cream
Emergency Items
- Emergency contacts
- Travel insurance information
- Important reservation details
- Copies of important documents
- Emergency cash or backup payment method
Your destination and planned activities may require additional gear.
What Not to Pack for a Winter Trip
First-time winter travelers sometimes make the opposite mistake and pack far too much.
You probably do not need:
- Five bulky sweaters for a three-day trip
- Multiple heavy coats
- Shoes for every possible outfit
- Huge quantities of toiletries
- Clothing you will only wear once
- Equipment you can easily rent at your destination
Instead, focus on versatile layers.
A small number of pieces that work together can create several outfits without filling your entire suitcase.
A Simple Winter Trip Preparation Timeline
You do not have to prepare everything the night before.
Several Weeks Before
- Choose your destination
- Research typical winter weather
- Book transportation
- Reserve accommodation
- Check travel insurance
- Research major activities
One to Two Weeks Before
- Check the longer-range forecast
- Finalize your itinerary
- Purchase missing winter gear
- Check your luggage
- Plan transportation
- Download useful apps and maps
Two to Three Days Before
- Check the latest weather forecast
- Adjust outdoor activities
- Charge electronics
- Prepare your carry-on
- Confirm reservations
- Check flight status
The Night Before
- Charge your phone
- Charge your power bank
- Pack important documents
- Check the weather again
- Set your alarms
- Keep your travel clothes ready
This simple schedule prevents the classic last-minute panic of discovering that your winter coat is still buried at the back of a closet.
First Winter Trip: Mistakes to Avoid
Packing for the Calendar Instead of the Forecast
A trip in January does not automatically mean the same weather everywhere.
Check your actual destination.
Bringing Fashion Over Function
Your shoes may look fantastic in photographs, but if they hurt after three hours of walking, they are not helping your vacation.
Forgetting Waterproofing
Snow and rain can turn into wet clothing very quickly.
Planning Too Many Outdoor Activities
Leave room for bad weather.
Ignoring Transportation Delays
Winter can affect flights, trains, buses and roads.
Forgetting Battery Management
Cold temperatures and heavy phone use are not a great combination.
Not Having a Backup Plan
Always know what you can do if your original outdoor plans become impossible.
Frequently Asked Questions
What should I pack for my first winter trip?
Start with a warm coat, layers, comfortable weather-resistant footwear, warm socks, gloves, a hat and a scarf. Add destination-specific items based on snow, rain, wind and temperature.
How many layers should I wear in winter?
There is no universal number. A practical system is a base layer, an insulating middle layer and a protective outer layer. Adjust according to the weather and your activity.
Are winter trips more expensive?
They can be, but it depends heavily on the destination and travel dates. Holiday periods may be particularly busy, while some destinations offer different prices during other parts of winter.
How do I stay warm while sightseeing?
Wear layers, protect your hands and head, choose appropriate footwear and take regular indoor breaks. Avoid planning long periods outside without access to warmth.
What should I do if it snows during my trip?
Check local weather and transportation information, allow extra travel time and adjust outdoor activities if conditions become unsafe. Museums, restaurants, shopping and indoor attractions can become useful alternatives.
Should I buy special winter travel gear?
Only if your destination and activities require it. A traveler visiting a snowy mountain destination may need specialized equipment that would be unnecessary for someone visiting a city with mild winter weather.
Is a winter road trip safe?
It can be, but safety depends on weather, road conditions, vehicle preparation and your driving experience. Check local road conditions and weather before setting out, and avoid unnecessary travel during dangerous conditions.
How can I avoid overpacking winter clothes?
Use layers and choose versatile clothing that can be worn together in different combinations. Focus on warmth, comfort and weather protection rather than bringing a separate outfit for every day.
Final Thoughts
Your first winter trip does not need to be intimidating.
The secret is preparation rather than packing everything you own and hoping for the best.
Research the weather. Dress in layers. Choose appropriate footwear. Protect your electronics. Plan around shorter daylight hours. Leave space in your itinerary for weather delays. If you are driving, prepare your vehicle and carry an emergency kit.
Most importantly, remember that winter travel is supposed to be enjoyable.
You do not need perfect weather every day. You need a plan flexible enough to handle imperfect weather.
Once you know how to prepare, snow, cold temperatures and winter storms become things you can plan around rather than reasons to avoid winter travel altogether.