How to Hike Angels Landing in Zion National Park
Angels Landing doesn’t ease you into anything. The final half-mile runs along a narrow sandstone fin with drops of a thousand feet on either side, a chain bolted into the rock as your only handhold, and a line of fellow hikers squeezing past you in both directions. It is one of the most famous — and most photographed — hikes in the American national park system, and it’s also become one of the hardest to actually get on, thanks to a permit system that now governs every single ascent.
This guide walks through exactly how to secure a permit, what the trail looks like section by section, what to bring, and how to decide honestly whether this hike is the right call for you. If Zion is one national park on a bigger Southwest itinerary, it’s exactly the kind of stop that fits naturally into one of the 15 Road Trip Routes That Will Make You Want to Hit the Open Road in 2026.
Recommended Travel Items for Your Trip
Angels Landing at a Glance
- Distance: Approximately 5.4 miles round trip from the Grotto trailhead.
- Elevation gain: Around 1,488 feet.
- Time: Most hikers take 4–5 hours round trip, including time at the summit and waiting on the chains.
- Difficulty: Strenuous. Steep switchbacks, sustained exposure, and a final exposed scramble with chains.
- Permit required: Yes — every hiker needs one to go past Scout Lookout, at all times of day, year-round.
- Best for: Fit hikers comfortable with heights and narrow exposed terrain. Not recommended for anyone with a fear of heights, young children, or those uneasy on steep drop-offs.
Why You Need a Permit (and Why It’s Not Optional)
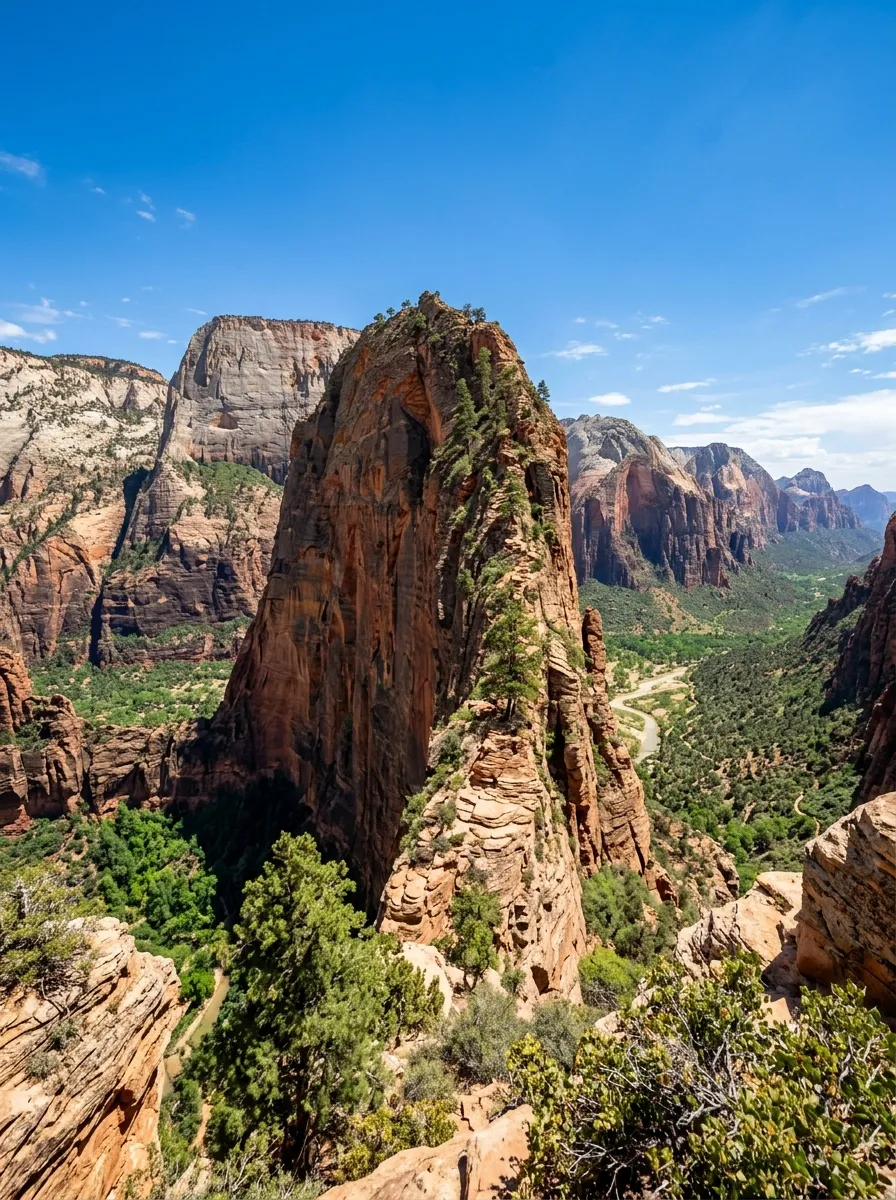
In 2022, Zion National Park introduced the Angels Landing Pilot Permit Program in direct response to years of dangerous overcrowding on the trail’s final section. The stretch between Scout Lookout and the summit is, in places, less than three feet wide, with sheer drop-offs on both sides — and before the permit system, that narrow ledge was regularly packed with hikers moving in both directions at once, waiting in long lines just to grab the chain.
The program has meaningfully improved both trail conditions and hiker safety, and it’s not going anywhere — Zion still issues more than 200,000 Angels Landing permits every year, and demand consistently outpaces supply. Every hiker, regardless of age, experience, or how many times they’ve done the hike before, needs a valid permit to go beyond Scout Lookout. The hike up to Scout Lookout itself, on the West Rim Trail, does not require a permit — only the final chain section does.
Important fraud warning: permits are sold exclusively through Recreation.gov. Any other website or third party offering to sell you an Angels Landing permit is running a scam. Don’t send money to anyone else for this.
How to Get an Angels Landing Permit
There are two ways to secure a permit, and using both strategies together gives you the best odds.
1. The Seasonal Lottery (Best for Planners)
This lottery runs quarterly, opening several months ahead of each hiking season, and it’s your best option if you’re planning a trip well in advance. As of 2026, the schedule runs as follows:
| Hike Dates | Lottery Opens | Lottery Closes | Permits Issued |
| Spring (Mar 1 – May 31) | February 13 | February 25 | February 26 |
| Summer (Jun 1 – Aug 31) | April 1 | April 20 | April 25 |
| Fall (Sep 1 – Nov 30) | July 1 | July 20 | — |
| Winter (Dec 1 – Feb 28) | October 1 | October 20 | — |
When you apply, you can select up to seven days and times (or ranges of days and times) that work for your schedule, which meaningfully improves your odds compared to picking a single rigid date. The application fee is $6 per entry and is non-refundable, win or lose. If you’re selected, you’ll be notified and charged an additional $3 per person, and your permit will list the hikers by name — apply using the name exactly as it appears on your photo ID, since rangers do check permits against identification on the trail.
If your plans change or your group shrinks, you can cancel and receive a refund on the per-person fee up until two days before your hike date.
2. The Day-Before Lottery (Best for Spontaneous Plans)
If you didn’t plan far enough ahead — or the seasonal lottery didn’t come through — there’s a second chance. The day-before lottery opens every single day from 12:01 a.m. to 3:00 p.m. Mountain Time, for a hike the following day. Results are typically announced by 4:00 p.m. Mountain Time the day before your hike.
For example, if you want to hike on a Wednesday, you’d apply sometime Tuesday between 12:01 a.m. and 3:00 p.m. Mountain Time and find out by 4:00 p.m. whether you got a spot.
This lottery is genuinely competitive given how popular the hike is, so treat it as a backup plan rather than your primary strategy if your travel dates are fixed and non-negotiable.
Tip: Applying to both lotteries — the seasonal one as your main plan, and the day-before lottery as a backup on your actual travel dates if the seasonal one doesn’t come through — gives you the best realistic shot at a permit.
The Trail, Section by Section
The Grotto to the West Rim Switchbacks
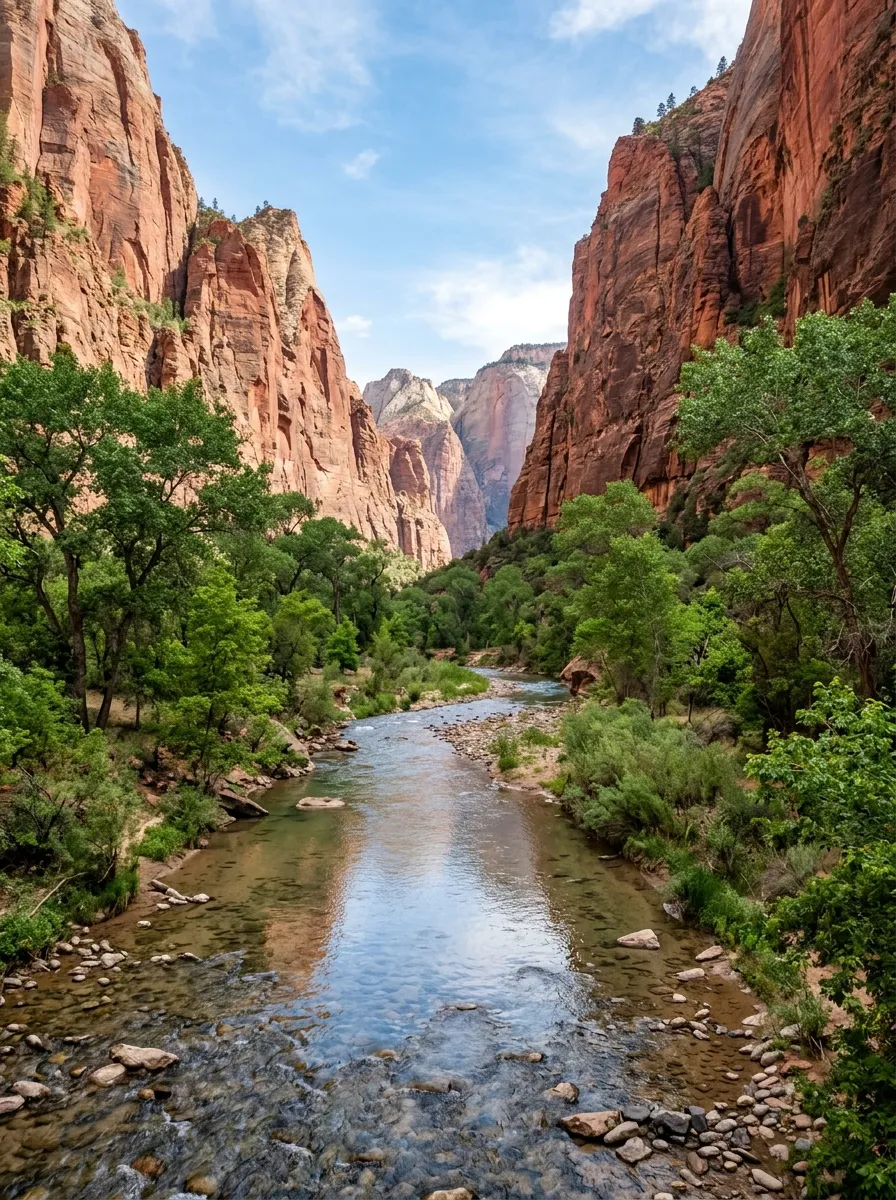
The hike begins at the Grotto trailhead, reachable via Zion’s free shuttle system. The first stretch is a relatively gentle, paved path along the Virgin River before the trail turns and begins climbing in earnest through a series of steep, exposed switchbacks. This section gains elevation quickly and offers almost no shade for a good portion of the climb, so pace yourself and expect to sweat through it even in cooler months.
Refrigerator Canyon
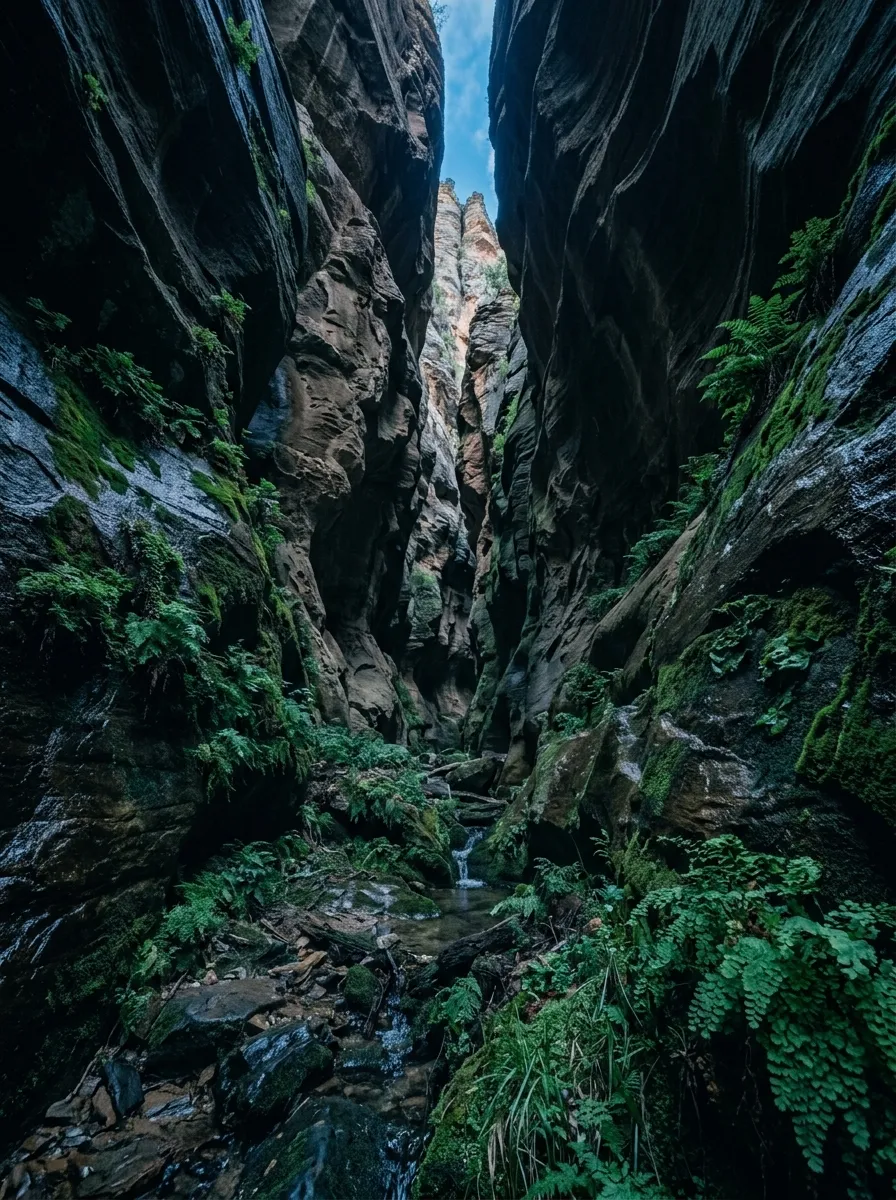
After the initial punishing switchbacks, the trail drops into a narrow, shaded canyon nicknamed Refrigerator Canyon for its noticeably cooler temperatures — a welcome break sandwiched between two much harder climbing sections. Use this stretch to catch your breath and rehydrate before what comes next.
Walter’s Wiggles
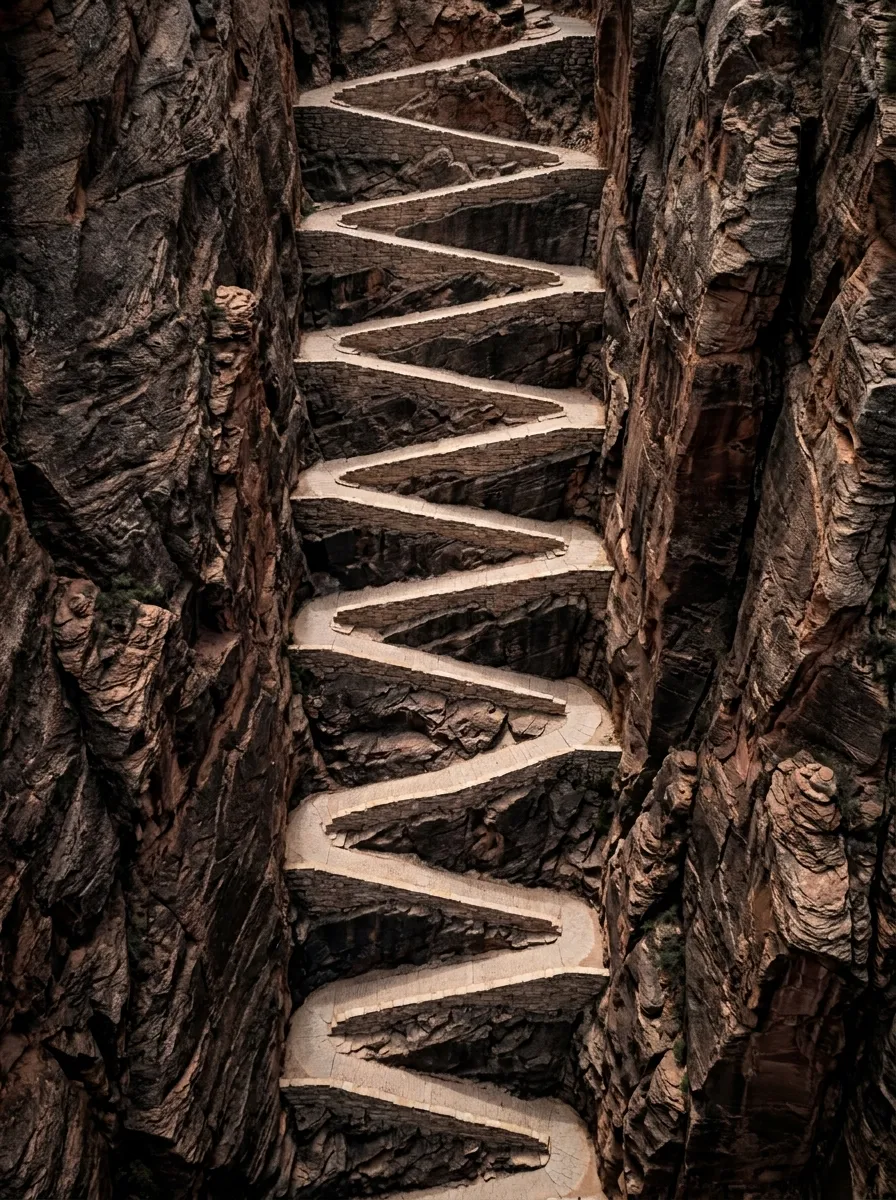
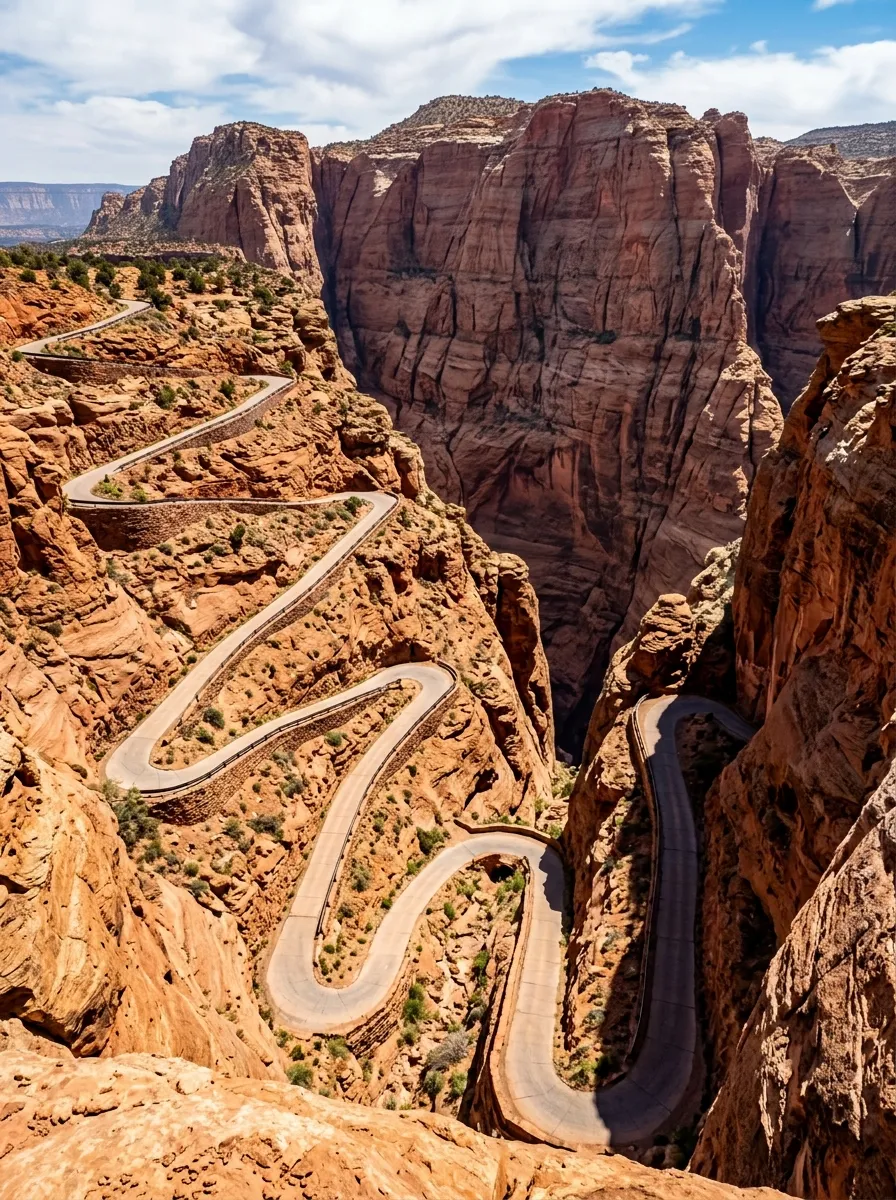
One of the trail’s most distinctive features: a set of 21 tight, steep switchbacks carved into the sandstone, engineered in 1926 by then-superintendent Walter Ruesch to make an otherwise unmanageable slope climbable. It’s short in distance but intense in effort — most hikers find this the toughest sustained push of the entire route.
Scout Lookout
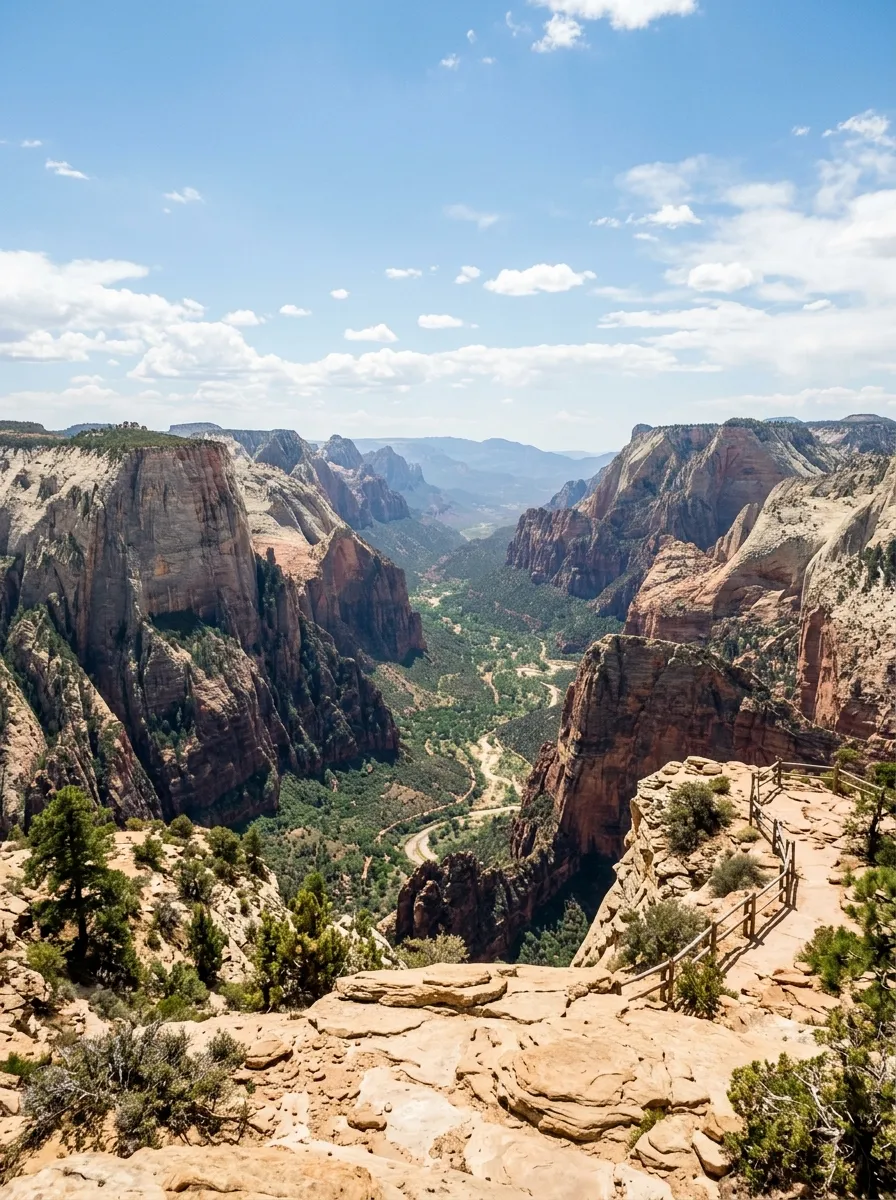
At the top of Walter’s Wiggles, the trail opens onto Scout Lookout, a broad, flat viewpoint with sweeping views over Zion Canyon. This is also the checkpoint where rangers verify permits before allowing anyone onto the final chain section — have your ID and permit confirmation ready. Scout Lookout is also a perfectly legitimate turnaround point if you decide the final stretch isn’t for you; the views here are excellent even without continuing on.
The Chains: Scout Lookout to the Summit
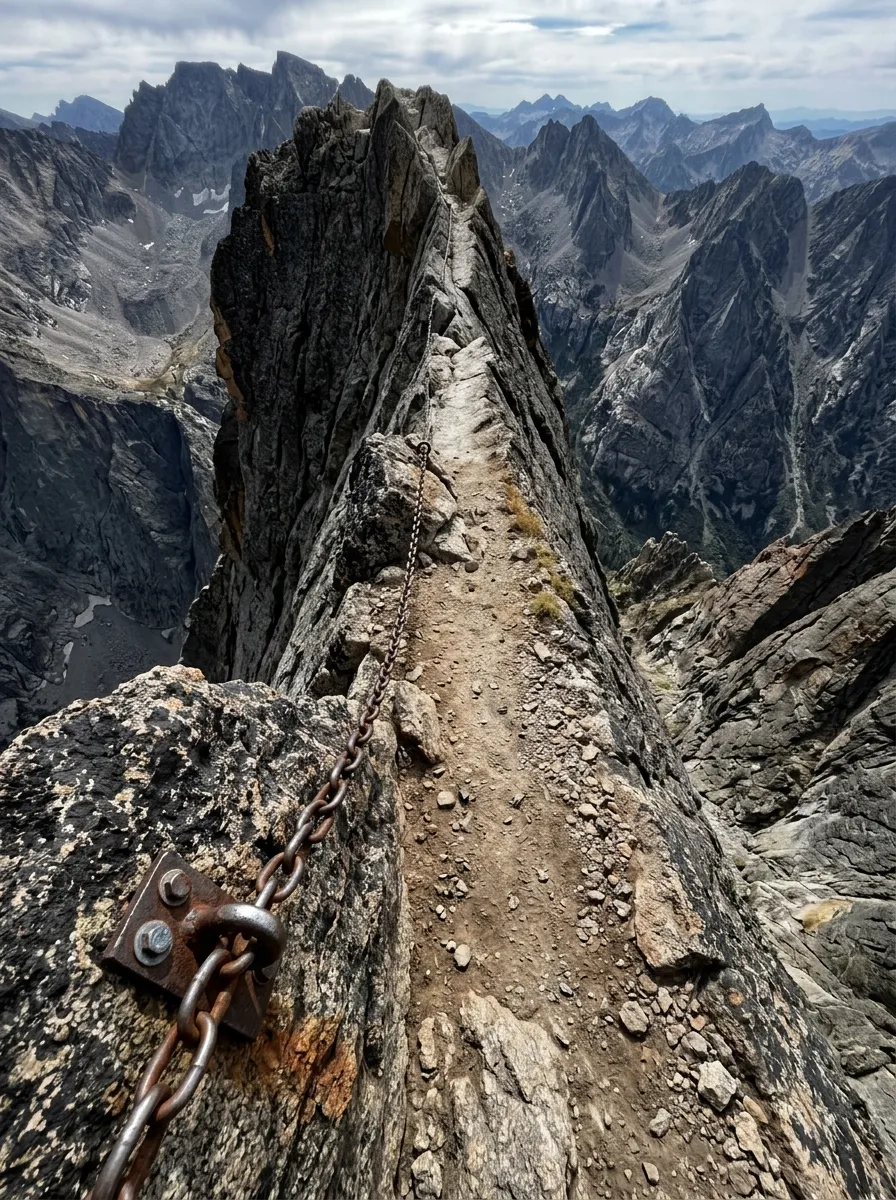
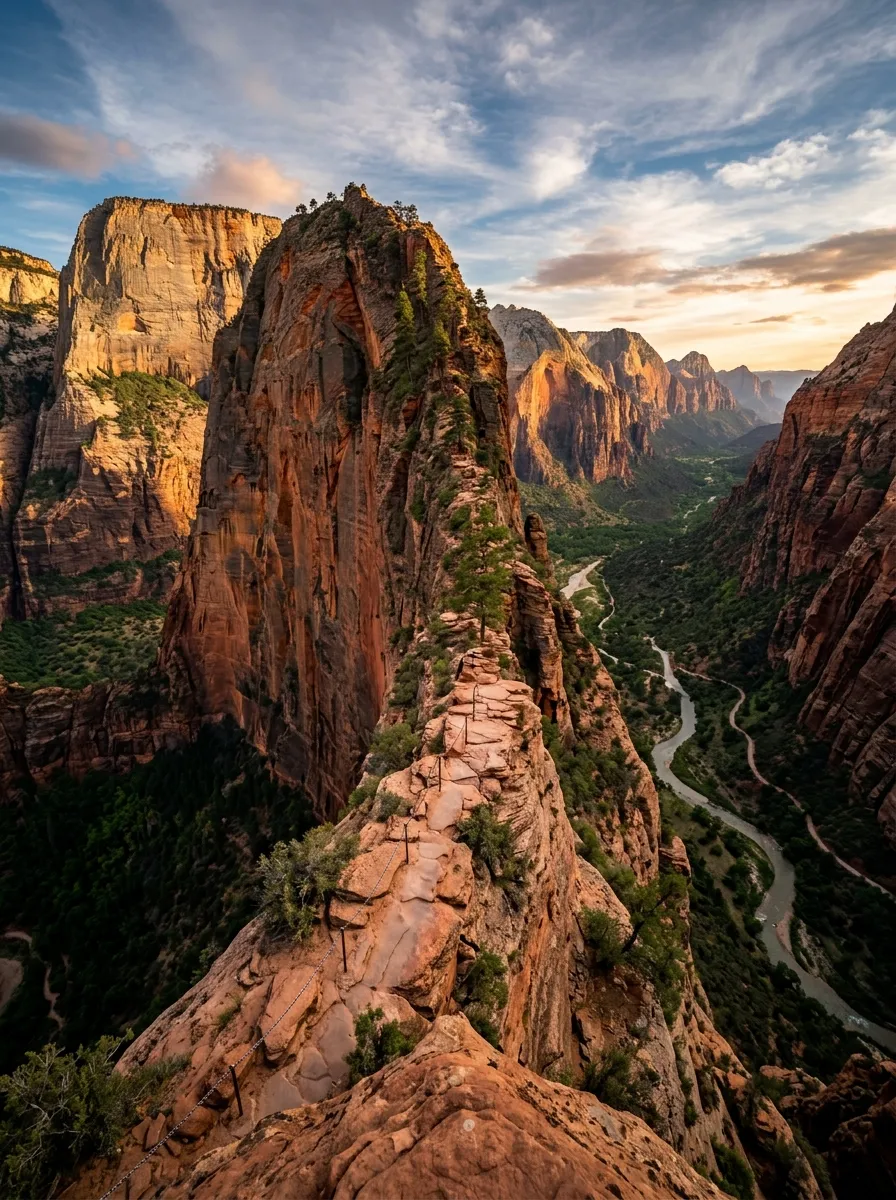
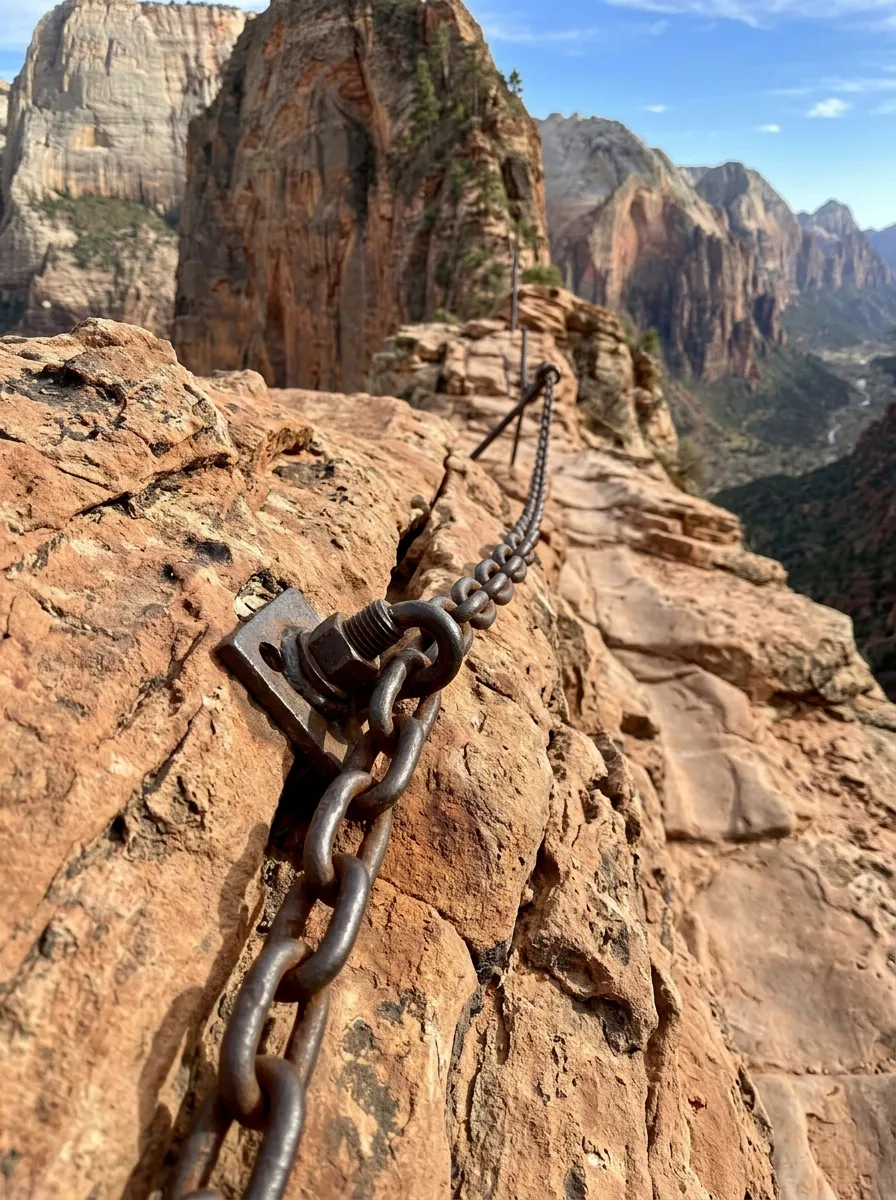
This is the half-mile that makes Angels Landing famous — and infamous. The trail narrows dramatically, in places to less than three feet wide, running along an exposed sandstone fin with drop-offs of roughly a thousand feet on either side. Chains bolted into the rock provide handholds along the most dangerous stretches, and hikers move in both directions along the same narrow path, meaning some patience and cooperation with fellow hikers is required.
This section demands full attention: solid footwear, dry conditions, and a level head. It is not the place to be checking your phone, hiking in flip-flops, or pushing through if you’re not feeling steady. Take your time, use the chains properly, and don’t feel any pressure to keep pace with faster hikers — there’s no shame in pausing to let others pass.
The Summit
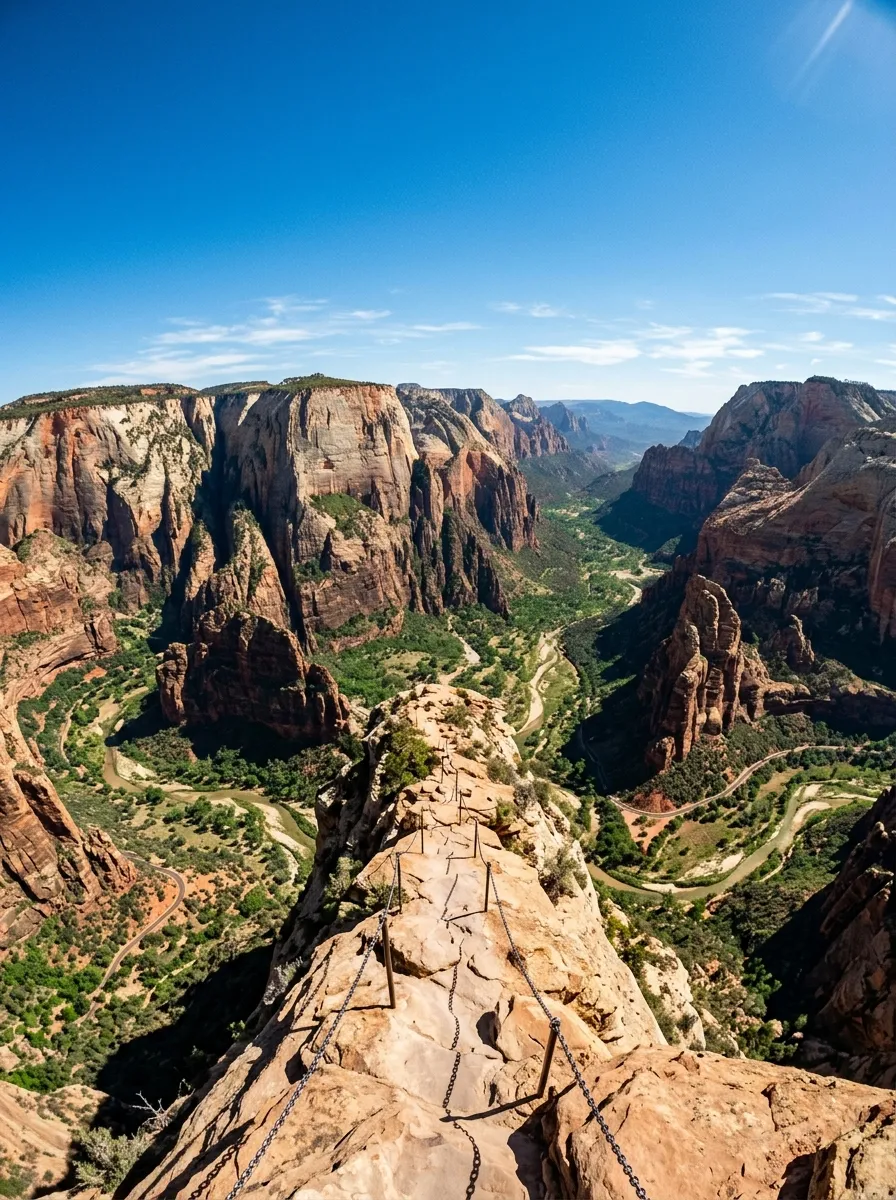
Reaching the top delivers one of the best payoffs in the entire national park system: a sweeping, nearly 360-degree view down into Zion Canyon, with the Virgin River winding far below and the canyon’s massive sandstone walls rising on every side. It’s an easy place to understand exactly why this hike has become such a bucket-list destination — and also exactly why the trail needed a permit system to manage the crowds drawn to it.
Is Angels Landing Right for You?
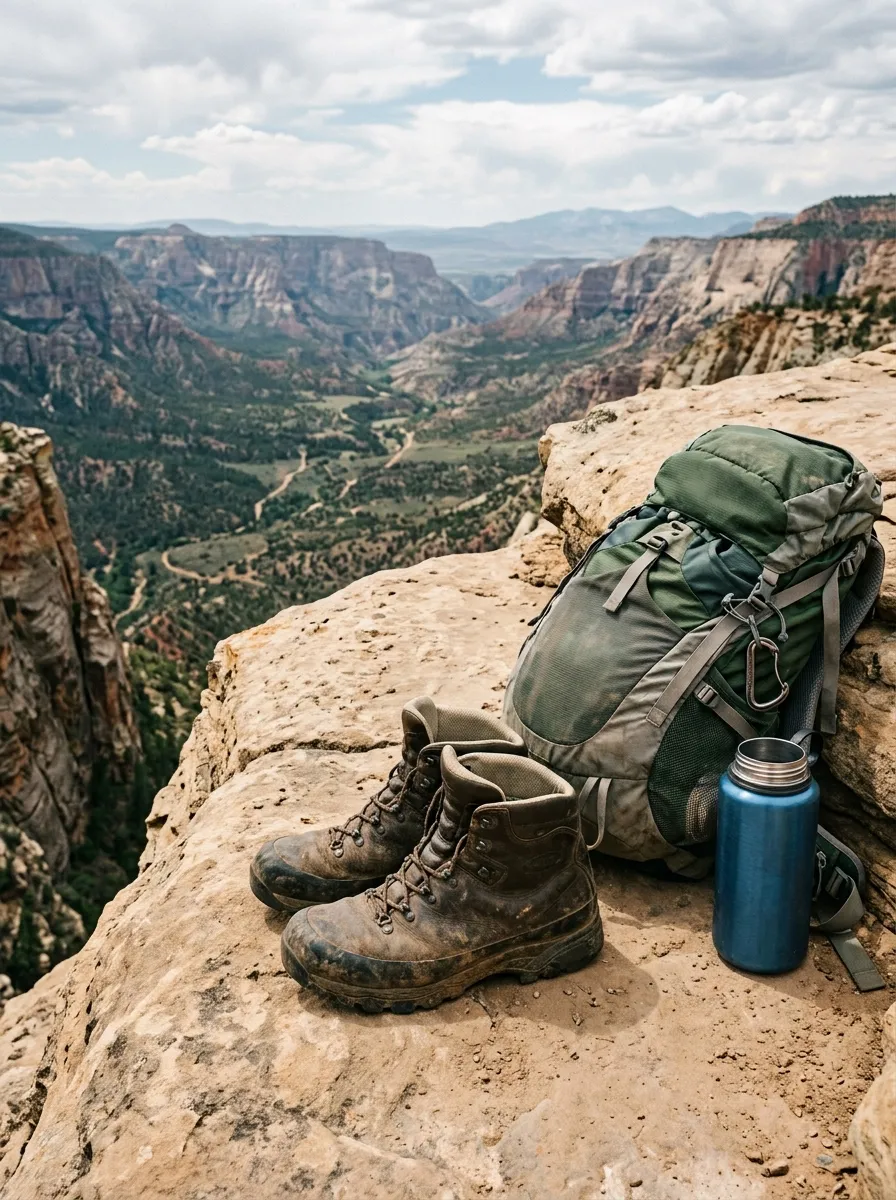
Be honest with yourself before you apply for a permit. This hike is not for everyone, and there’s no shame in choosing a different Zion trail if any of the following apply to you:
- You have a significant fear of heights or exposure to steep drop-offs.
- You’re hiking with young children who may not reliably follow safety instructions on narrow terrain.
- You have balance, mobility, or heart-related health concerns.
- You’re not comfortable navigating a crowded, narrow trail shared by hikers moving in both directions.
If any of that gives you pause, Scout Lookout itself is a completely satisfying destination on its own, with no permit required and genuinely excellent views — and Zion has several other spectacular hikes, including the Narrows and Observation Point, that don’t involve the same level of exposure.
Best Time to Hike Angels Landing
Zion is a year-round hiking destination, but conditions on this particular trail shift a lot with the seasons:
- Spring (March–May) brings comfortable temperatures and wildflowers, though the chains can occasionally be wet or icy in early spring at higher elevations.
- Summer (June–August) is the busiest and hottest season; start as early as your permit allows to avoid the worst heat on the exposed switchback sections.
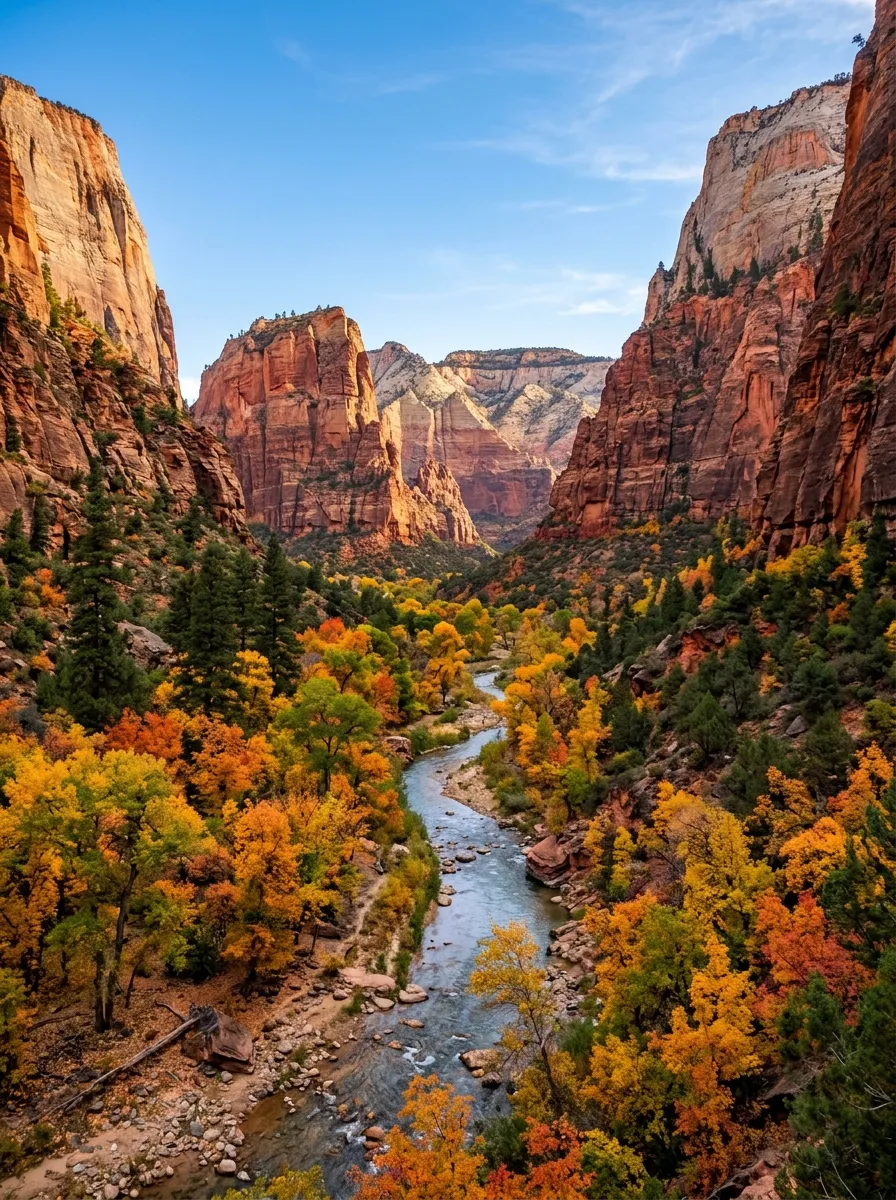
- Fall (September–November) offers some of the best hiking weather of the year — cooler temperatures, fewer crowds than summer, and excellent light for photos. If you’re weighing Zion against other destinations for a fall trip, it’s worth checking our roundup of Best Places to Travel in the US in September! alongside our list of 24 Unforgettable Things to Experience Around the World if you’re aiming for an October visit instead.
- Winter (December–February) sees far smaller crowds, but the chains can genuinely ice over, making the final section significantly more dangerous. Check current trail conditions with the park directly before committing to a winter permit, and be prepared to turn back at Scout Lookout if conditions look unsafe.
What to Bring
- At least 1.5–2 liters of water per person. There’s minimal shade for much of the climb, and dehydration is one of the most common reasons hikers struggle on this trail.
- Sturdy hiking shoes with real grip. Sandstone gets slick, especially near the chains, and this is absolutely not a trail for sandals or worn-out sneakers.
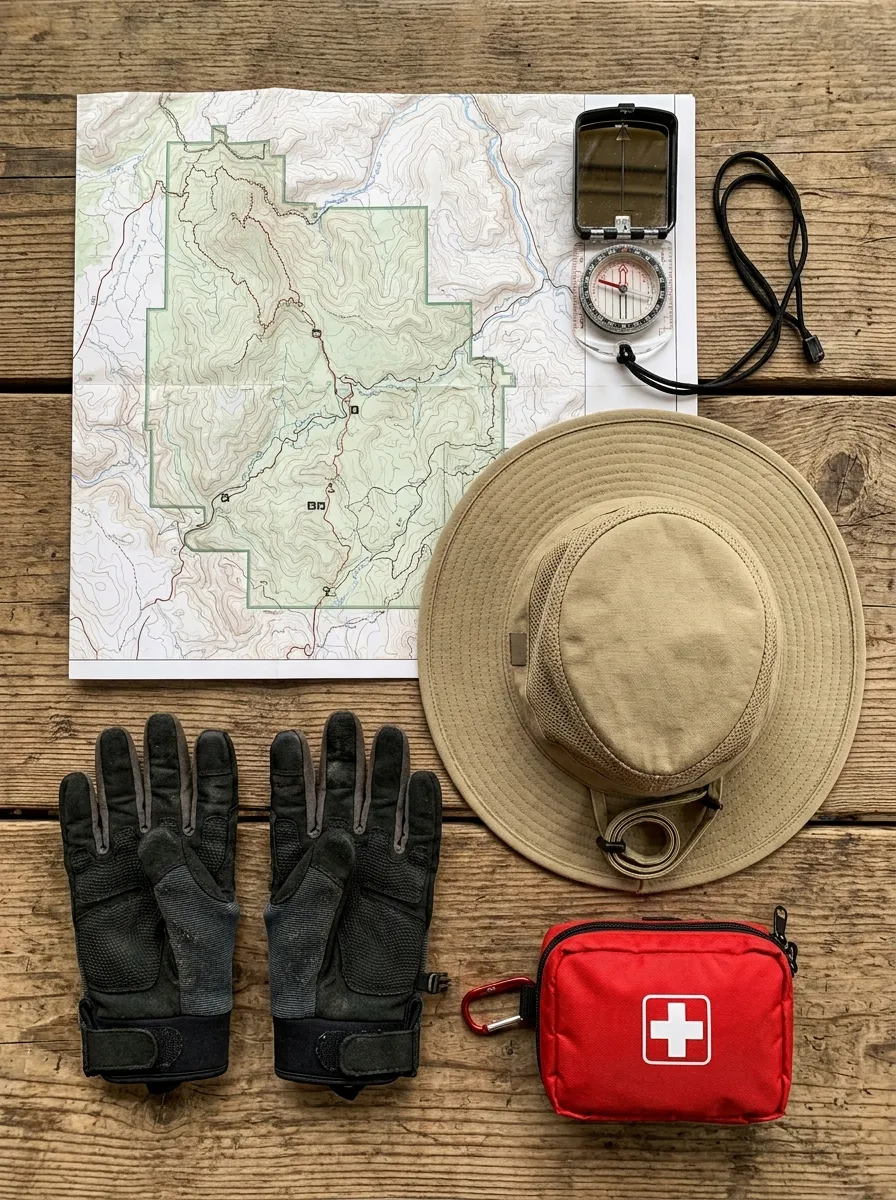
- Gloves, if you have them — the chains get hot in summer sun and can be rough on bare hands after a half-mile of continuous grip.
- Sun protection, including sunscreen and a hat, for the exposed switchback sections.
- A printed or downloaded copy of your permit confirmation and a photo ID, since rangers check both at Scout Lookout.
- A small first-aid kit and any personal medication.
- A camera — the summit views are genuinely some of the best in the entire national park system, and worth capturing properly rather than relying on a rushed phone shot while other hikers wait their turn at the viewpoint.
Frequently Asked Questions
Q: Do I need a permit even if I’ve hiked Angels Landing before?
Yes. The permit requirement applies to every hiker, every time, with no exceptions for prior experience.
Q: Can I buy a permit from a tour company or reseller?
No — permits are sold exclusively through Recreation.gov. Any other seller is running a scam.
Q: What happens if I don’t get a permit in either lottery?
You can still hike the West Rim Trail up to Scout Lookout without a permit, which offers excellent views on its own, or try the day-before lottery again for a different date during your trip.
Q: How difficult is the hike compared to other Zion trails?
It’s one of the more strenuous named hikes in the park, comparable in effort to Observation Point, but with the added factor of sustained exposure on the final chain section that most other Zion trails don’t have.
Q: Is Angels Landing dangerous?
The trail includes real exposure and drop-offs, and there have been fatalities on the route over the years, which is part of why the permit system exists. With proper preparation, dry conditions, sturdy footwear, and a realistic assessment of your own comfort with heights, most hikers complete it safely — but it should be taken seriously, not treated as a casual walk.
Angels Landing earns its reputation both ways: it’s one of the most spectacular short hikes in the entire national park system, and one that genuinely deserves the respect the permit system and chain section demand. Plan ahead for the lottery, check conditions before you go, and if the view from Scout Lookout is as far as you get, you’ll still have seen one of the best panoramas in Zion. For travelers chasing more landscapes that look almost too dramatic to be real, Zion’s canyon views hold their own next to the destinations on our list of 10 Places on Earth That Look Completely Fake (But Aren’t) — and if you’re mapping out a wider Western national parks trip, our guide to a Trip in Montana: The Ultimate Guide to Big Sky Country makes a natural next stop heading north.