Koko Head Hike: The Stairs of Doom in Oahu, Hawaii
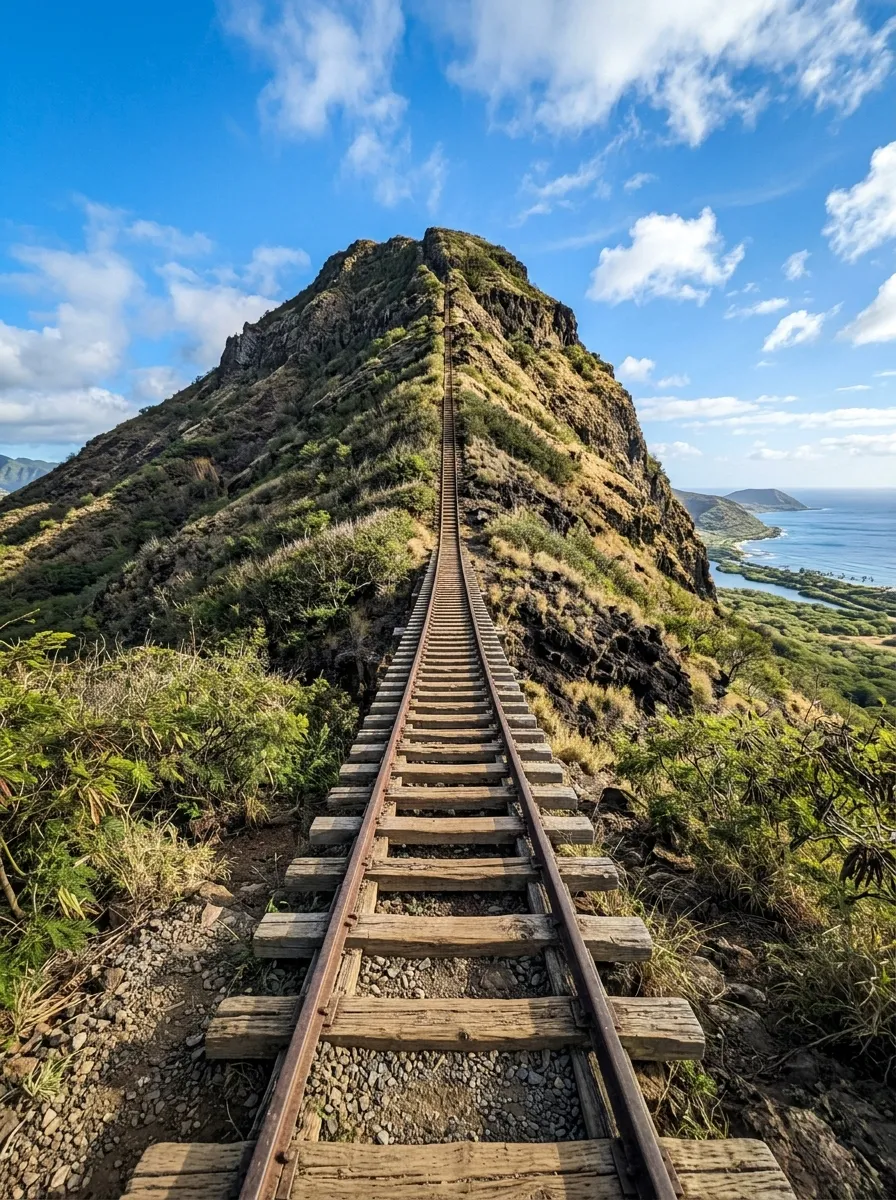
There’s a reason locals call it the “Stairs of Doom.” From the parking lot at Koko Head District Park, you can already see them — a relentless line of old railway ties running straight up the face of a volcanic crater, with tiny, sweating figures crawling upward like ants. It doesn’t look like much on a map. Under a mile round trip. But by the time you’re two-thirds of the way up, gasping in the Hawaiian sun with your legs on fire, you’ll understand exactly why this is one of the most talked-about hikes on Oahu.
This guide covers everything you need before you attempt it: the real stats, what the trail actually feels like, when to go, what to bring, and how to survive it without ending up as a cautionary tale on someone else’s blog.
If you’re building out a broader Hawaii or mainland hiking trip, this climb fits right alongside the destinations covered in our 15 Best Adventure Travel Spots in the USA for Epic Hiking and Surfing — Koko Head is exactly the kind of short, brutal, bucket-list climb that roundup is built for.
Recommended Travel Items for Your Trip
What Is Koko Head Hike, Exactly?
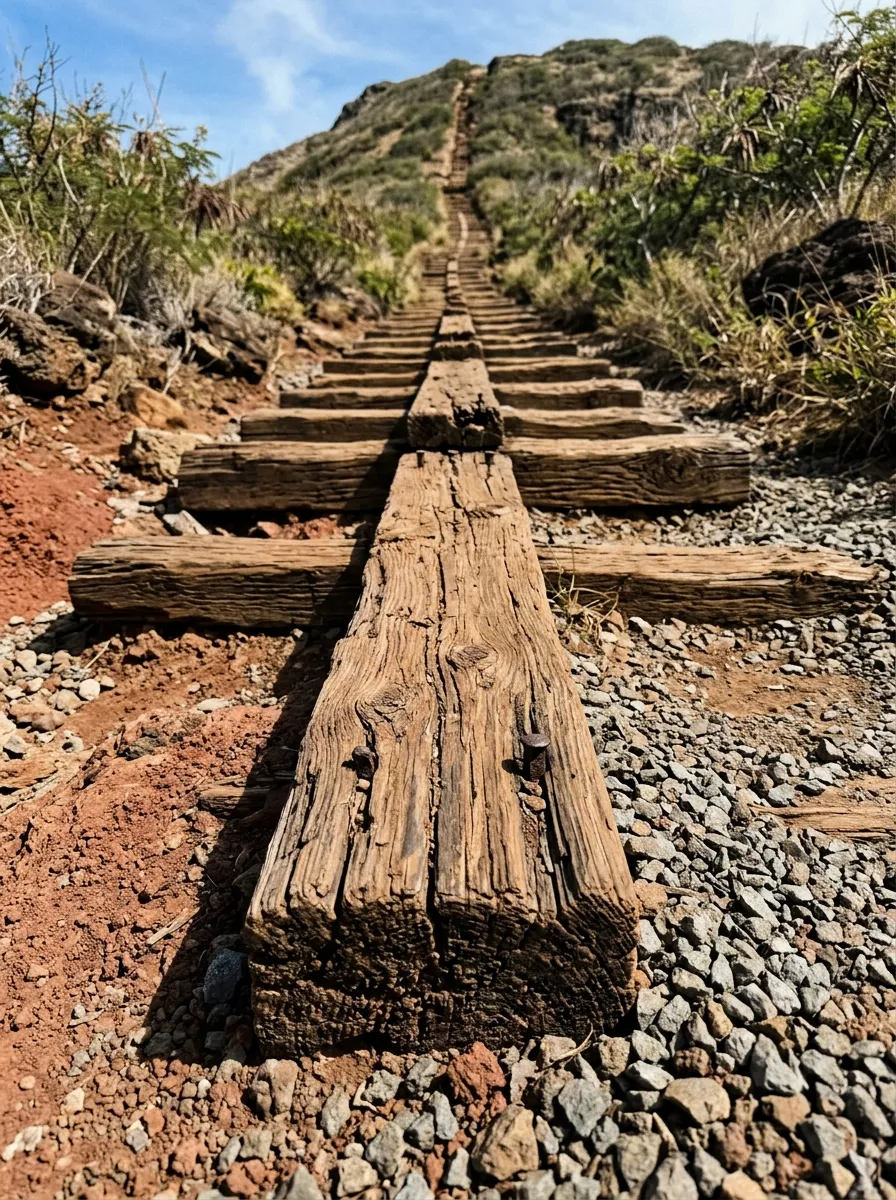
Koko Head (also called the Koko Crater Stairs or the Koko Crater Railway Trail) climbs the side of Koko Crater, a dormant volcanic tuff cone on the southeastern coast of Oahu, near Hawaii Kai. The “stairs” aren’t stairs in any conventional sense — they’re the wooden railroad ties of an old U.S. Army tramway, built in the early 1940s during World War II to haul supplies and equipment up to a military installation at the summit. The tramway itself is long gone, but the ties remain, spaced unevenly, some missing, some tilted, forming a punishing straight-line staircase up the mountainside with almost no switchbacks to ease the grade.
Quick Stats:
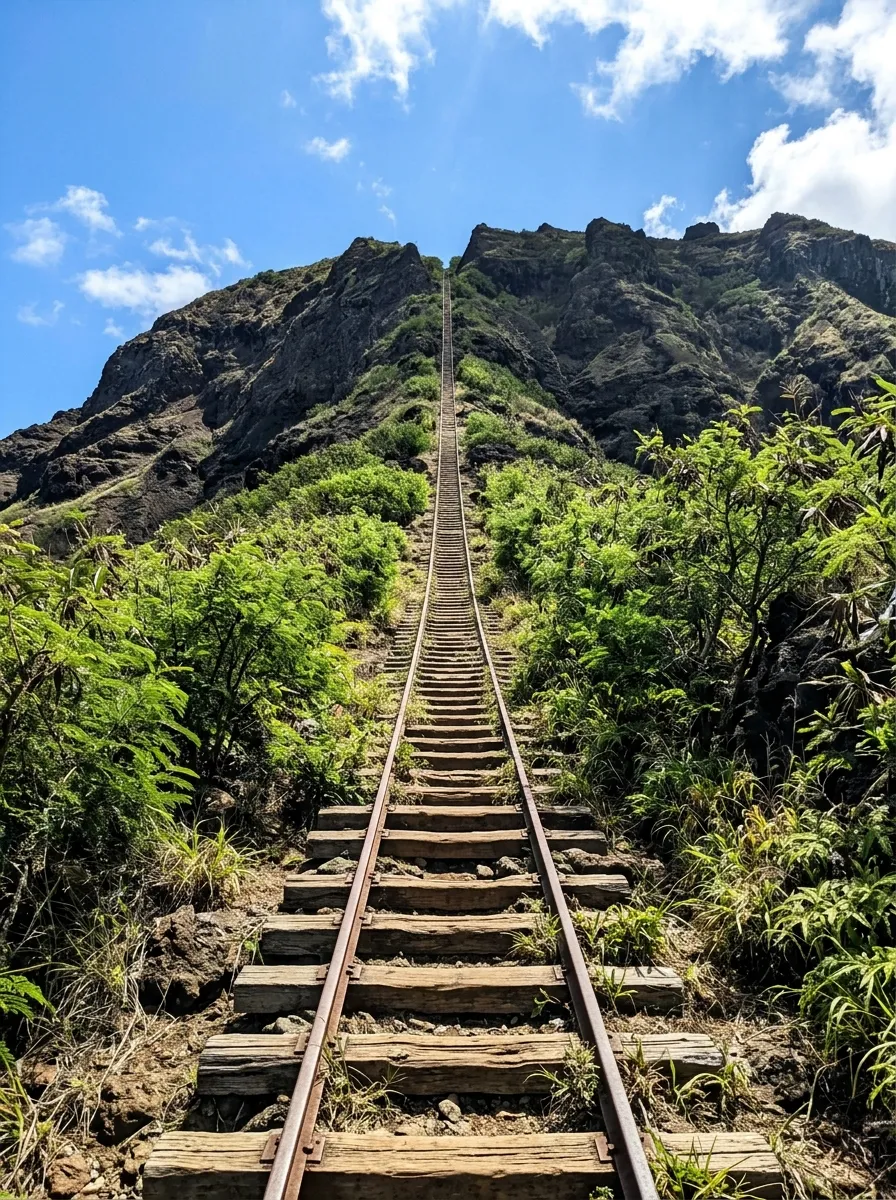
- Distance: Roughly 1–1.6 miles round trip (sources vary slightly depending on where they start measuring, but expect well under 2 miles total).
- Steps: 1,048 railroad ties.
- Elevation gain: Approximately 900–1,200 feet, depending on the source.
- Summit elevation: Around 1,200 feet.
- Time: 30 minutes to over an hour for most hikers; advanced hikers and trail regulars finish in 15–20 minutes. The fastest recorded times are under 9 minutes — for reference, not for goals.
- Difficulty: Strenuous. Steep, exposed, and unshaded from bottom to top.
- Cost: Free.
- Hours: Open 24 hours a day, year-round.
What to Expect on the Trail
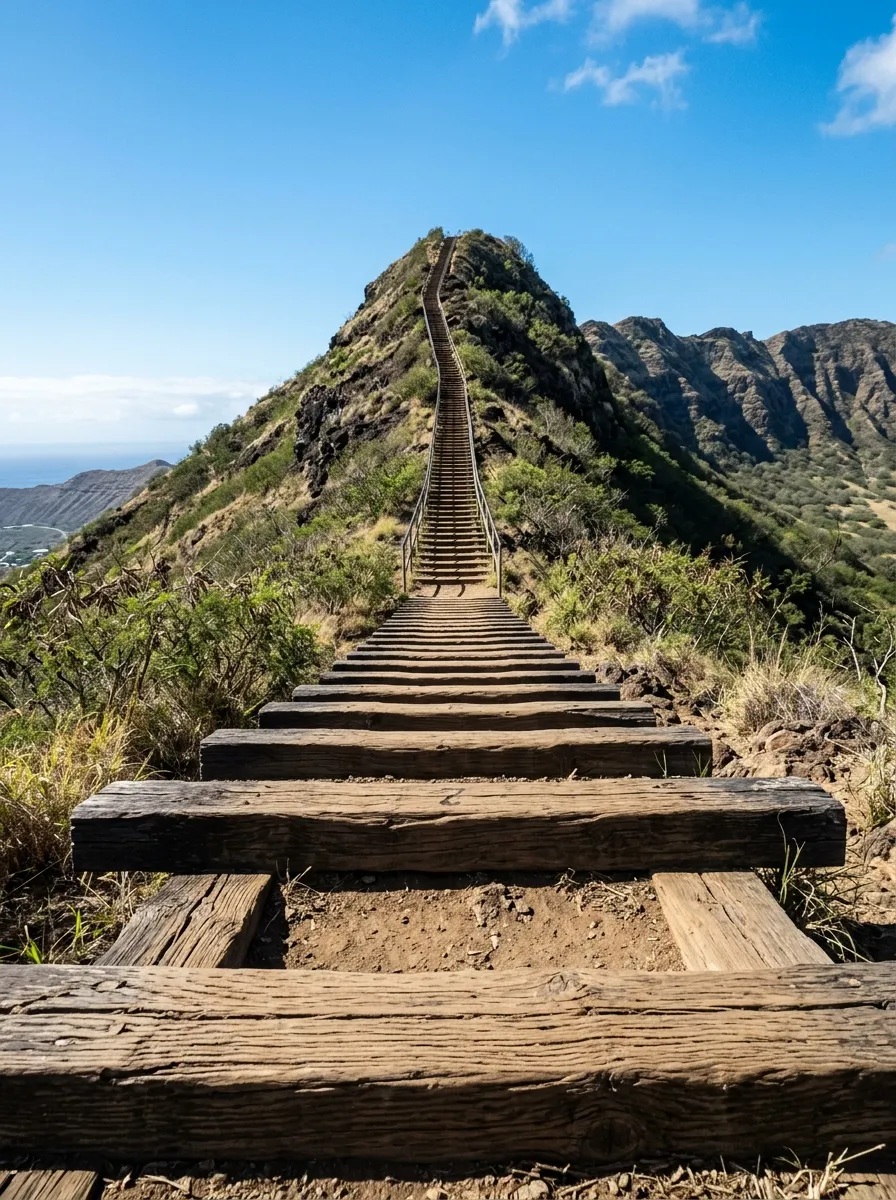
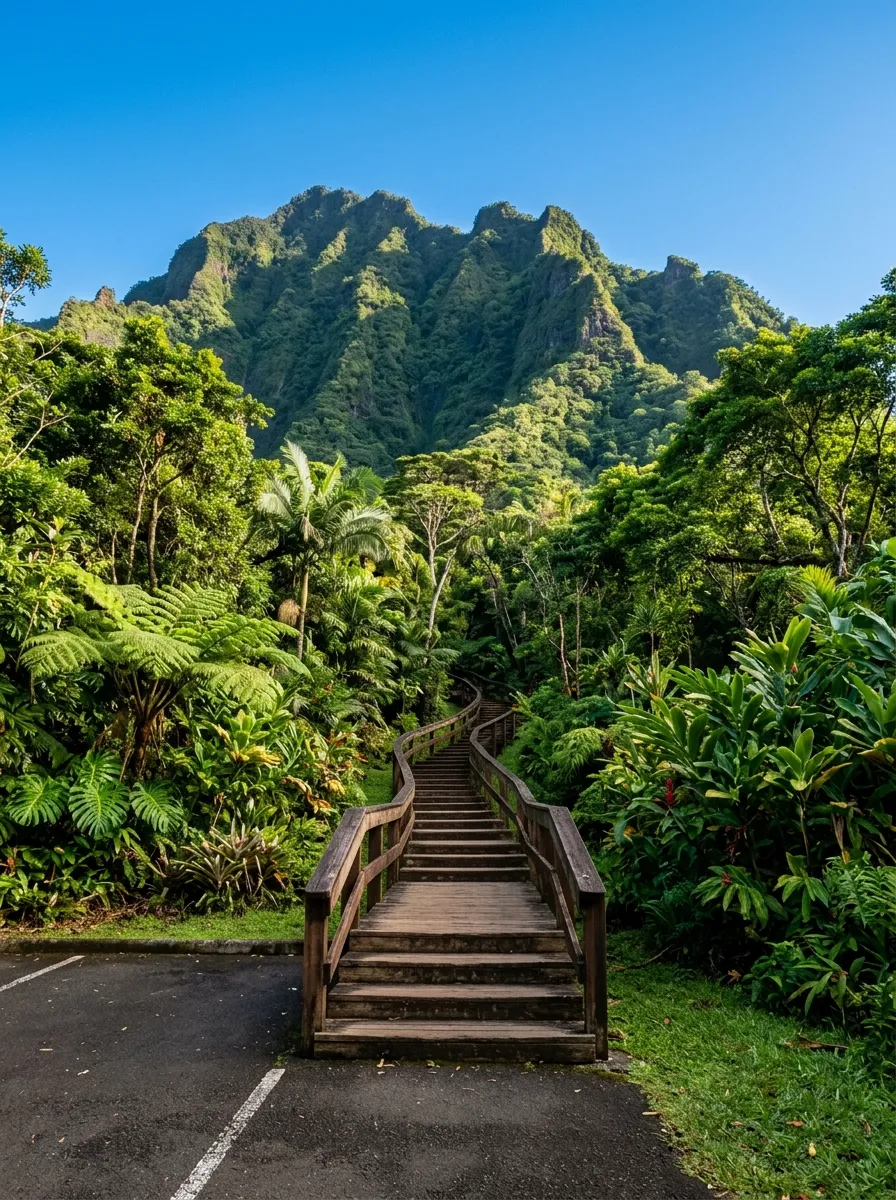
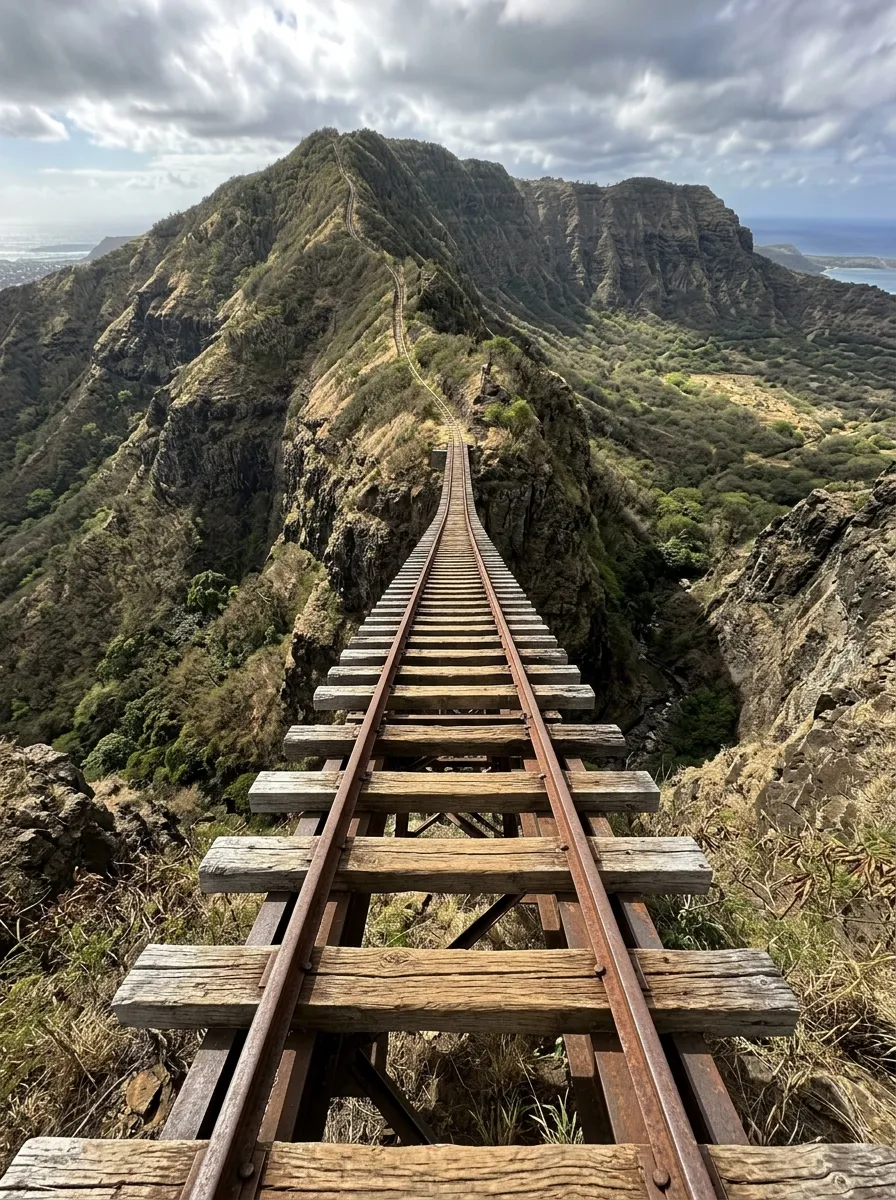
From the back parking lot of Koko Head District Park, it’s a short walk of about a quarter mile along a paved path before you reach the base of the stairs. This is your last flat ground for a while — take it in.
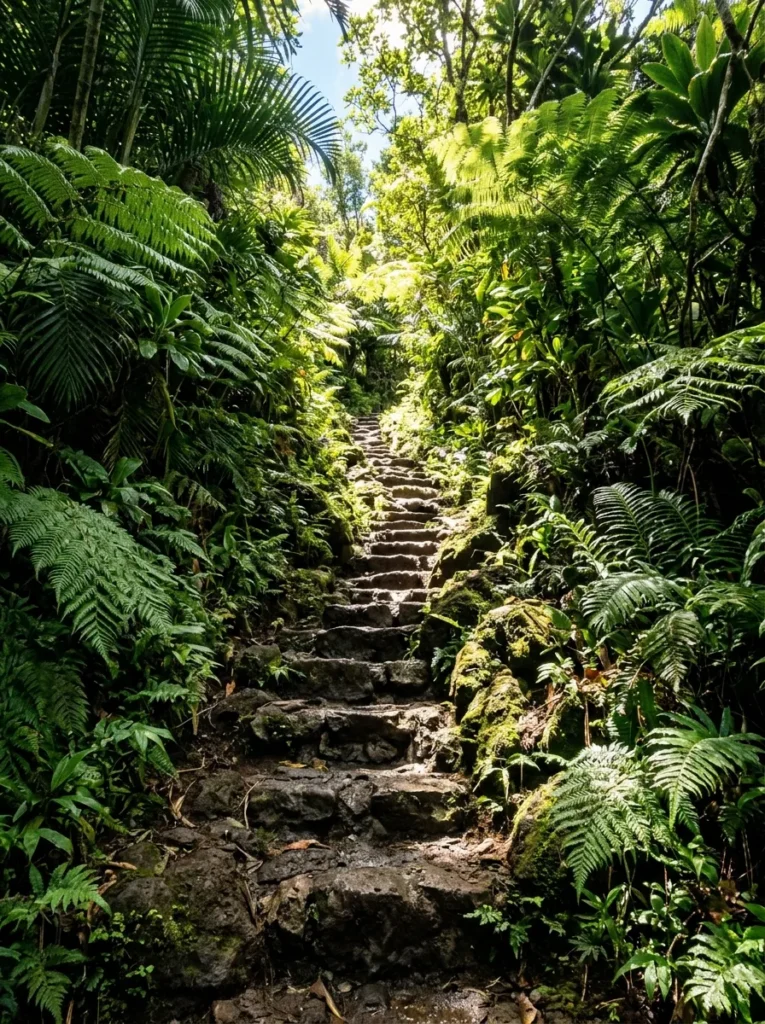
The climb itself is relentless. There’s no gentle warm-up section; the grade is steep from the very first steps and stays that way almost the entire way up. The railway ties vary in height and spacing, some are cracked or loose, and there are a few gaps in the structure — most notably a section partway up where a section of trestle crosses open air, which can rattle hikers uneasy with heights (though it’s manageable if you keep moving and don’t look down for too long).
There is zero shade on this trail. None. Combined with Hawaii’s heat and humidity, this is often the single biggest factor that catches first-timers off guard — more than the incline itself.
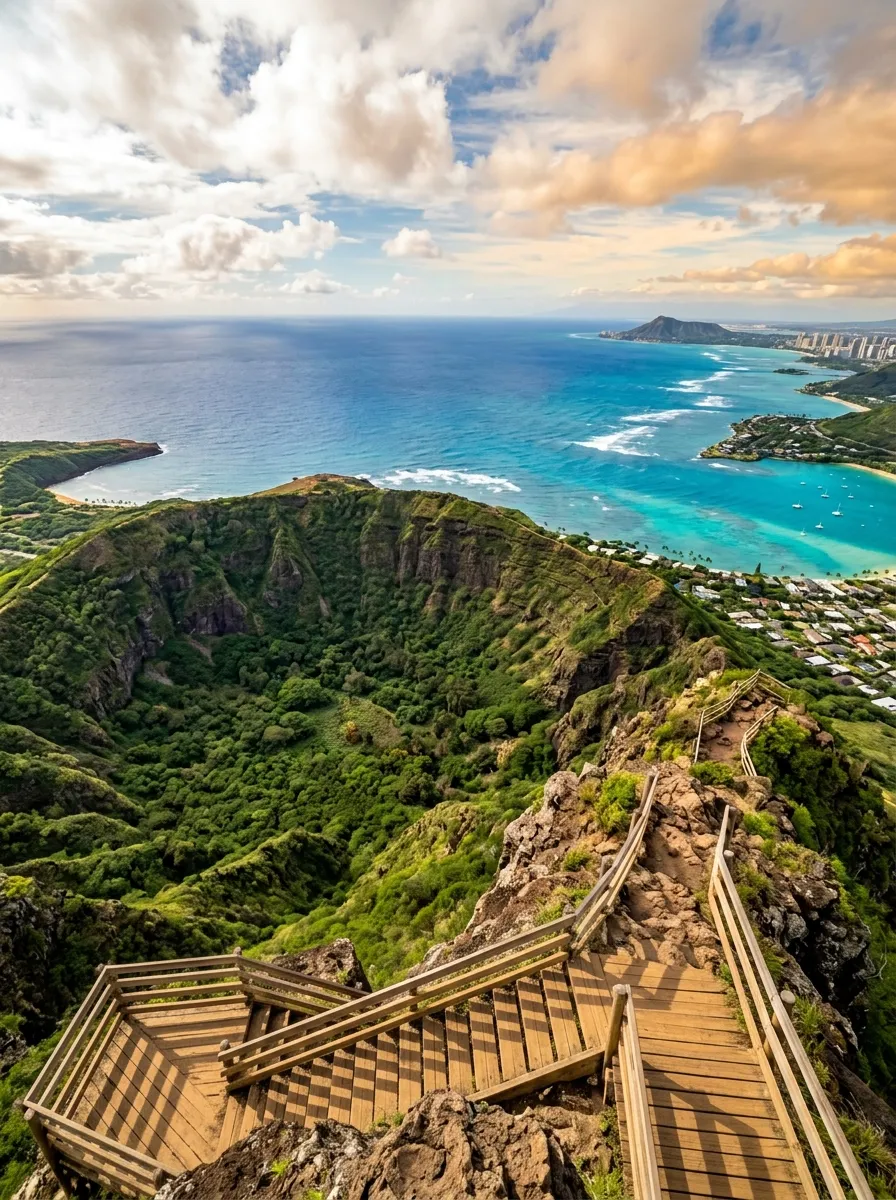
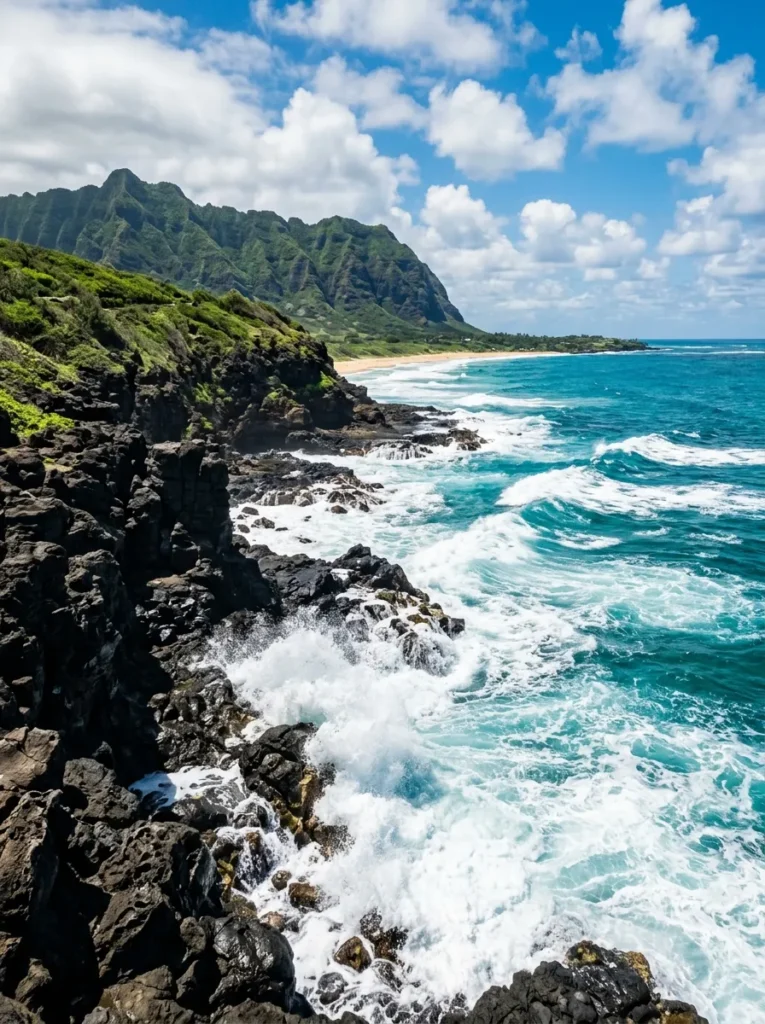
The good news: the views only get better the higher you climb. By the upper third of the trail, you’ll have sweeping views back over Hanauma Bay, Sandy Beach, and the turquoise coastline of East Oahu. At the summit, a 360-degree panorama opens up over Koko Crater’s interior, Maunalua Bay, Diamond Head in the distance, and on exceptionally clear days, the outlines of Molokai, Lanai, and Maui across the channel. There are also the remnants of old military bunkers and pillboxes at the top, left over from the site’s wartime use, worth a few minutes of exploring once you’ve caught your breath.
Best Time to Hike Koko Head
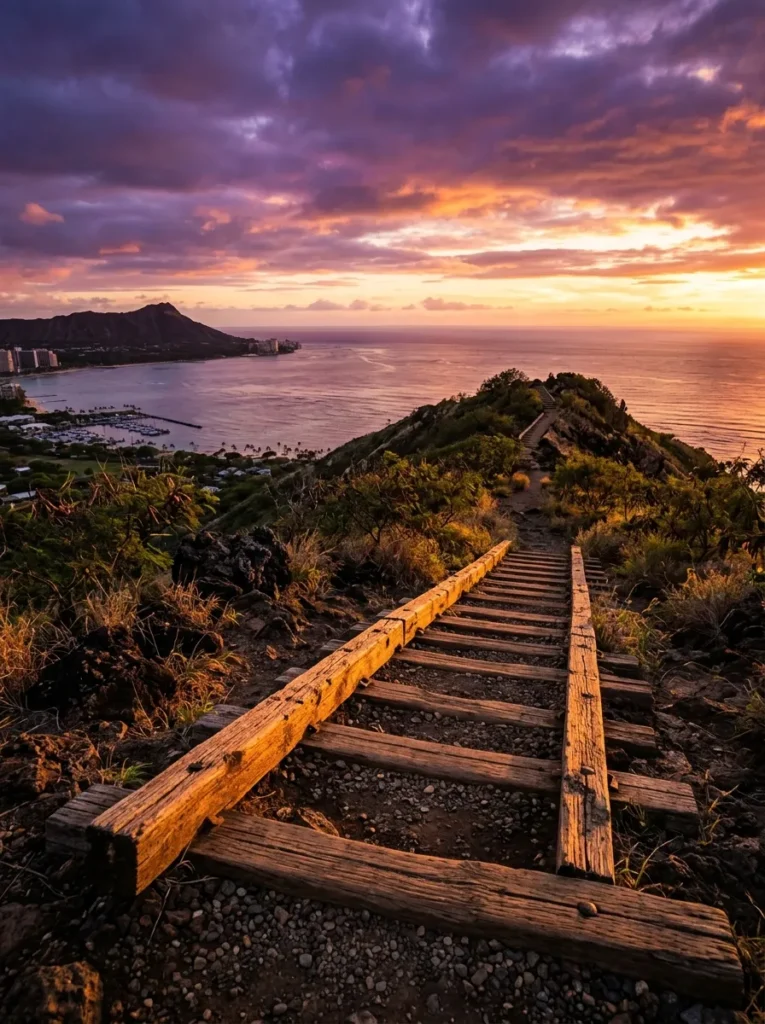
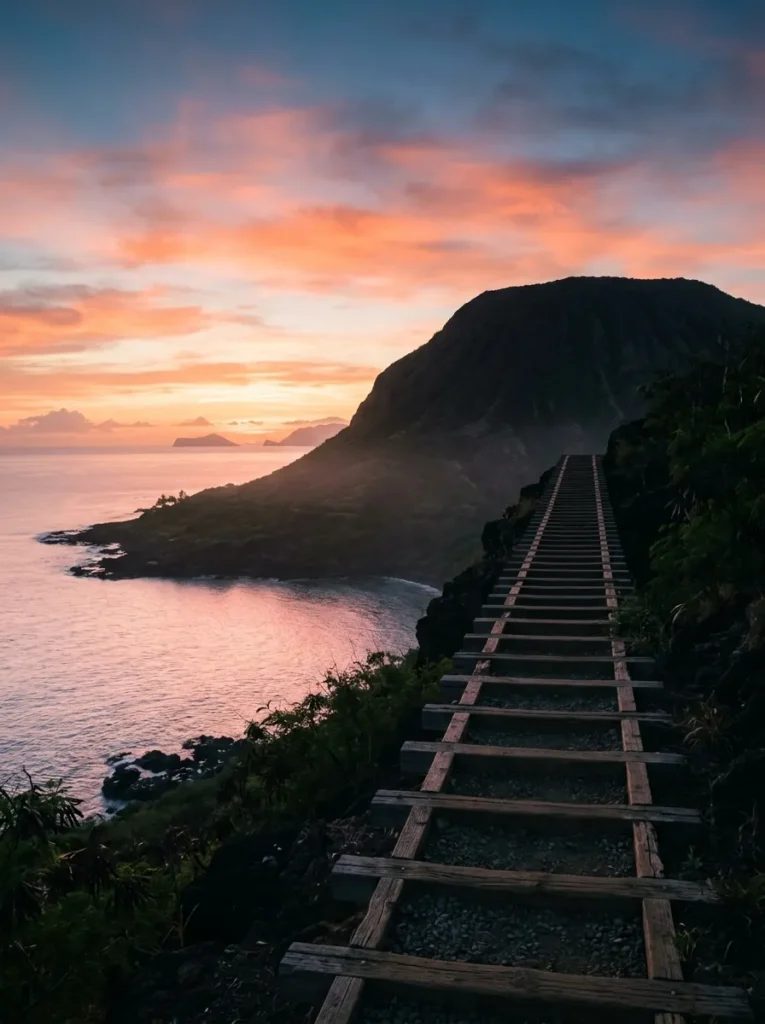
Sunrise or early morning is the answer nearly every local and repeat hiker gives, and for good reason. Starting before or right around sunrise means you avoid the worst of the heat, catch dramatically better light for photos, and often share the trail with Oahu’s genuinely devoted local hiking community — including some who climb it multiple times a day as part of a daily fitness routine.
Sunset is the second-best option and arguably even more scenic, since you finish the climb with the sky changing color over the ocean. The tradeoff is that you’ll be descending the steepest section in fading light, so bring a headlamp or phone flashlight just in case.
Avoid midday entirely if you can. The complete lack of shade turns the stairs into a genuine heat hazard between roughly 10am and 3pm, especially in summer. If midday is truly your only option, go anyway, but treat hydration and pacing far more seriously than you would for an equivalent hike with tree cover.
If you’re timing a Hawaii trip around a specific month, this hike works well in almost any season, but it pairs naturally with a spring visit — see our guide to 8 AMAZING Places to Visit in April in the USA if you’re weighing Oahu against other April destinations.
Getting There and Parking
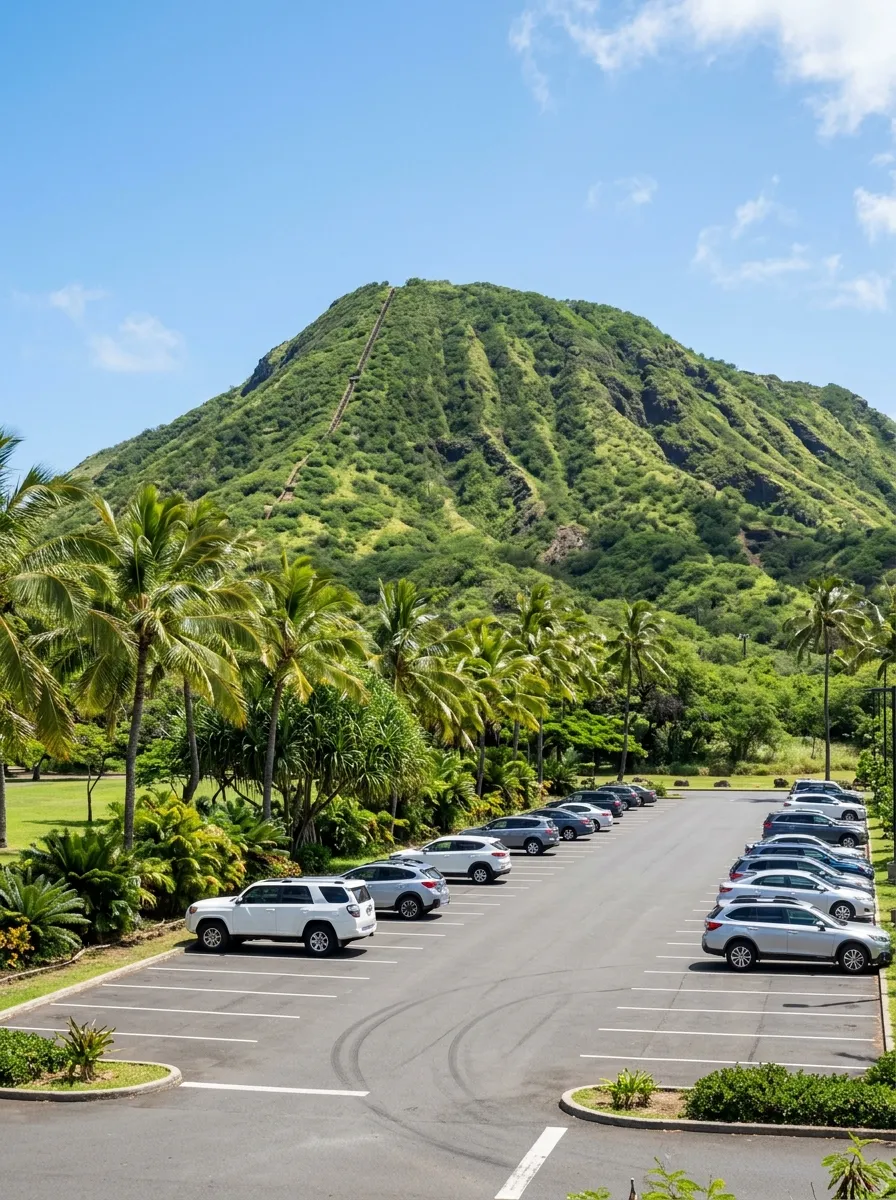
Koko Head District Park sits in Hawaii Kai, on the southeastern side of Oahu, roughly a 30–40 minute drive from Waikiki depending on traffic. Parking is free in the park’s back lot, closest to the trailhead, but it fills up fast around sunrise and sunset — the two most popular windows — and can also get crowded on evenings when the park’s baseball fields have games. Arrive with buffer time, or be prepared to park a bit farther out and walk in.
There’s no ride-share drop-off issue here since the park has ample general parking, but if you’re relying on rideshare apps, confirm your pickup point in advance, as cell service near the park entrance can be inconsistent.
What to Bring
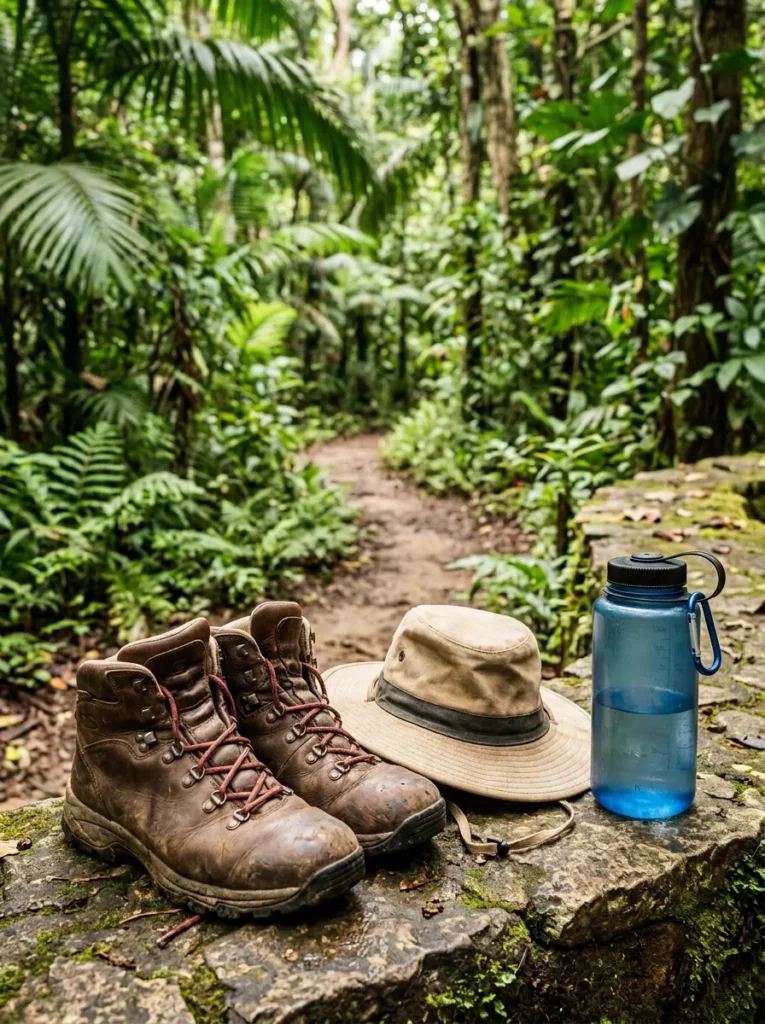
This is a short hike by distance, but don’t let that fool you into under-packing.
- More water than feels necessary. With no shade and a steady, strenuous incline, dehydration is the most common issue hikers run into here. A liter minimum for most people, more in hot weather.
- Sturdy, closed-toe shoes with good grip. The wooden ties get slick, especially near the summit where loose rock and gravel collect, and flip-flops or sandals are a genuinely bad idea on this trail.
- Sunscreen and a hat. Reapply if you’re hiking mid-morning onward; there’s no relief from direct sun anywhere on the route.
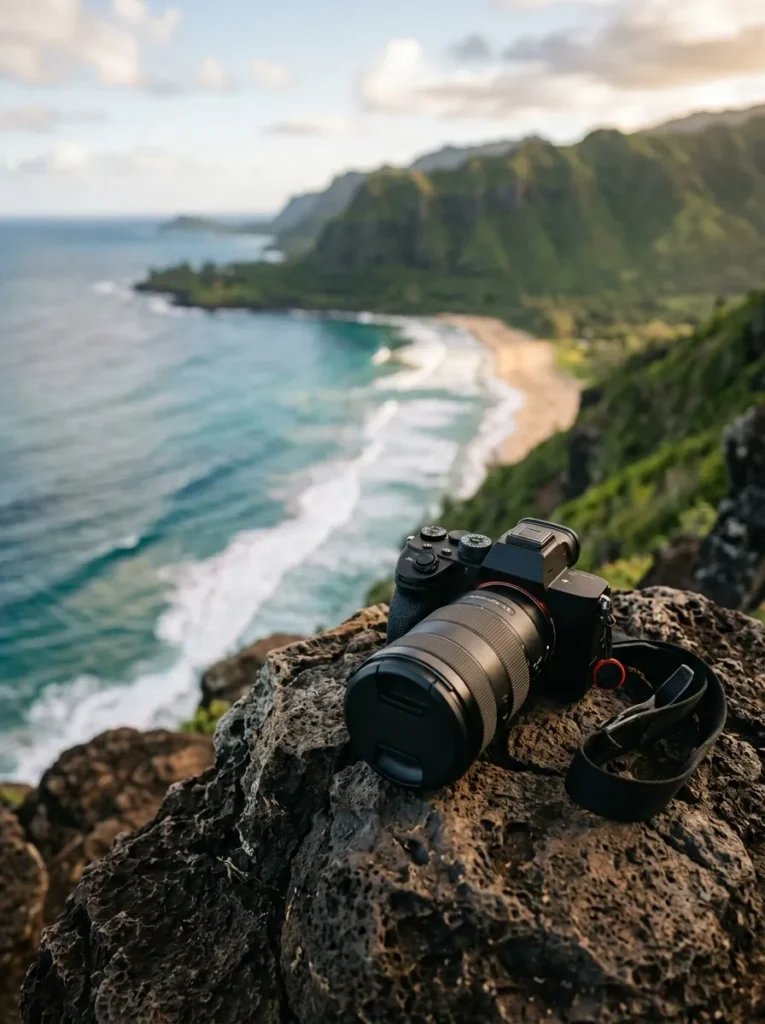
- A phone or camera for photos, since the summit views are the entire reward for the climb. If photography is a serious part of your travels, it’s worth reading a review like our Sony a7 IV Review After Two Years of Full-Time Travel — a lightweight, weather-resistant setup is genuinely useful on an exposed trail like this one, where you’re climbing with your gear rather than setting it down.
- A small daypack to keep your hands free for balance on the steeper, uneven sections.
- A headlamp or phone flashlight if you’re hiking at sunset and expect to descend after dark.
If you’re unsure what’s actually worth packing for a trip that mixes hikes like this with beach days and everything in between, our breakdown of 7 Travel Essentials You Actually Need Before Your Next Trip covers the gear that consistently earns its space in a carry-on, rather than the stuff that just sounds useful in a packing list.
Safety Tips and Common Mistakes
- Don’t skip the water. This is the single most common reason people struggle badly on this trail — not fitness, but dehydration and heat exhaustion.
- Watch your footing near the trestle gap. The section of exposed trestle partway up the climb has gaps between ties; keep three points of contact if you’re uneasy, and don’t rush this part.
- Pace yourself on the way up, not just the way down. Plenty of hikers charge the first third of the stairs and burn out well before the summit. A slower, steady rhythm beats sprinting and stopping repeatedly.
- Give way on narrow sections. The trail is one path both up and down, and it gets busy at peak times — a bit of trail courtesy keeps things moving safely for everyone.
- Skip it after or during heavy rain. Wet wooden ties become genuinely dangerous, and the trail has essentially no drainage — puddles and slick patches linger.
- Know your limits. This is not the hike to attempt with young children, anyone with significant knee or joint issues, or if you’re generally out of shape and unprepared for a steep, sustained cardio effort. It’s genuinely strenuous, not a casual stroll with a fun nickname.
- First time up always feels worse than it should. Nearly everyone who’s done this trail more than once says the same thing: the first ascent feels brutal, and every subsequent one feels more manageable as you learn to pace yourself and know what’s coming.
Is Koko Head Hike Worth It?
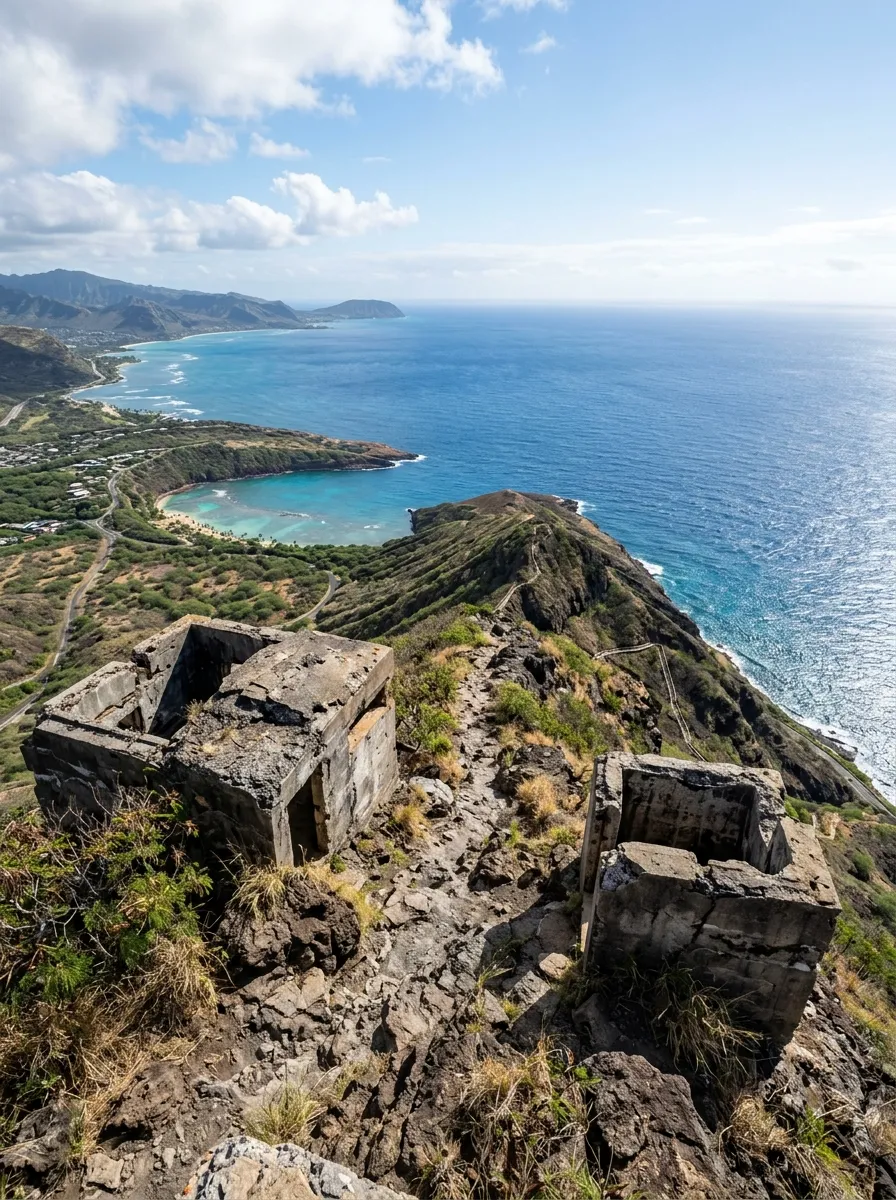
For most reasonably fit travelers, yes — it’s one of the most rewarding short, hard hikes anywhere in Hawaii, precisely because the effort-to-payoff ratio is so extreme. You’ll spend well under an hour total, and in exchange you get a genuine physical challenge, a slice of WWII history under your feet, and a 360-degree coastal panorama that ranks among the best views on Oahu for the amount of time invested.
It’s not the hike for a relaxed vacation morning if you’re not up for a real workout, and it’s not forgiving of poor preparation — but if you go in with enough water, the right shoes, and a plan to start early, it delivers exactly what its nickname promises: a legitimately punishing climb with a view that makes every one of those 1,048 steps worth it.
And if Oahu’s stairs have you craving more far-flung, underrated destinations after this one, it’s worth a look at somewhere entirely different in tone — our Misool Travel Guide: Everything You Need to Know Before Visiting Raja Ampat’s Southern Paradise trades volcanic stairs for remote reefs, but shares the same spirit of a destination that rewards travelers willing to put in real effort to get there.
Quick Reference
| Detail | Info |
| Location | Koko Head District Park, Hawaii Kai, Oahu |
| Distance | ~1–1.6 miles round trip |
| Steps | 1,048 railroad ties |
| Elevation gain | ~900–1,200 feet |
| Time | 30 min – 1 hour (average); 15–20 min (advanced) |
| Difficulty | Strenuous |
| Cost | Free |
| Best time | Sunrise or sunset |
| Parking | Free, fills up fast at peak times |